|
|
Post by HRHpenfold on Aug 22, 2014 10:37:34 GMT
That gearbox is a restoration beauty. But nothing compared to the pert b00bs of the Guzzi.  You can see where the money went on the 'box just from the attention the outside has received. That is assuming the internals got the same meticulous work applied. I cleaned the outside, it started off like the spare box, cleaned with chemicals first! 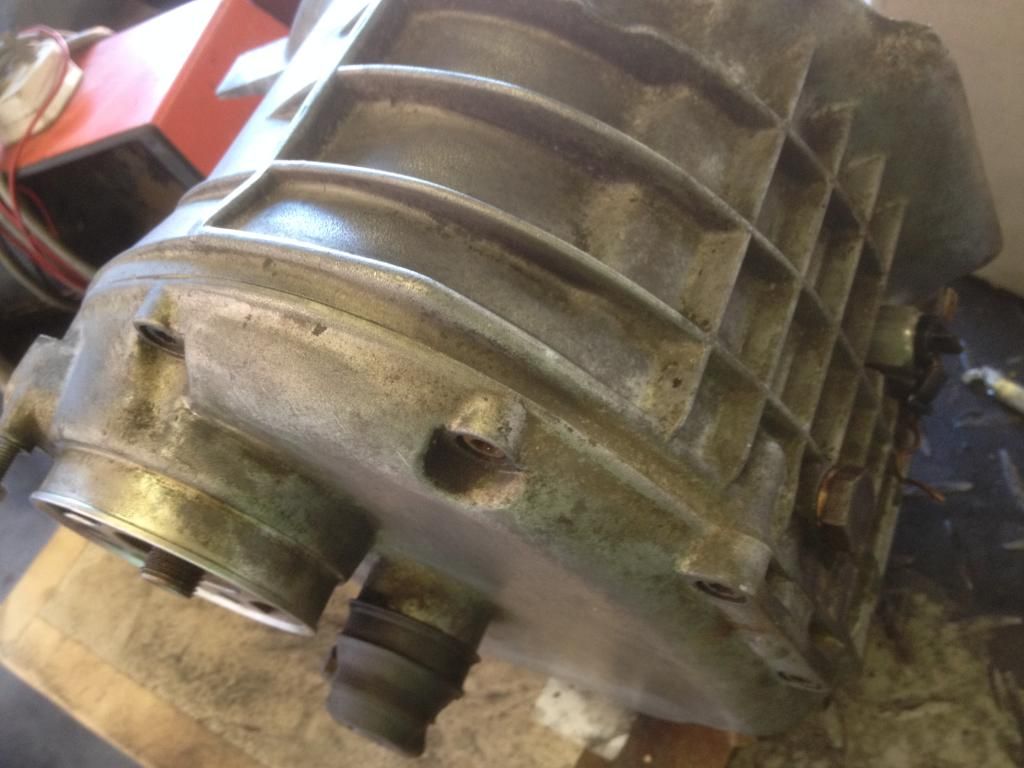 though I did clean the outside of the carbs, they needed a bit of extra attention to make them look better! started off like this 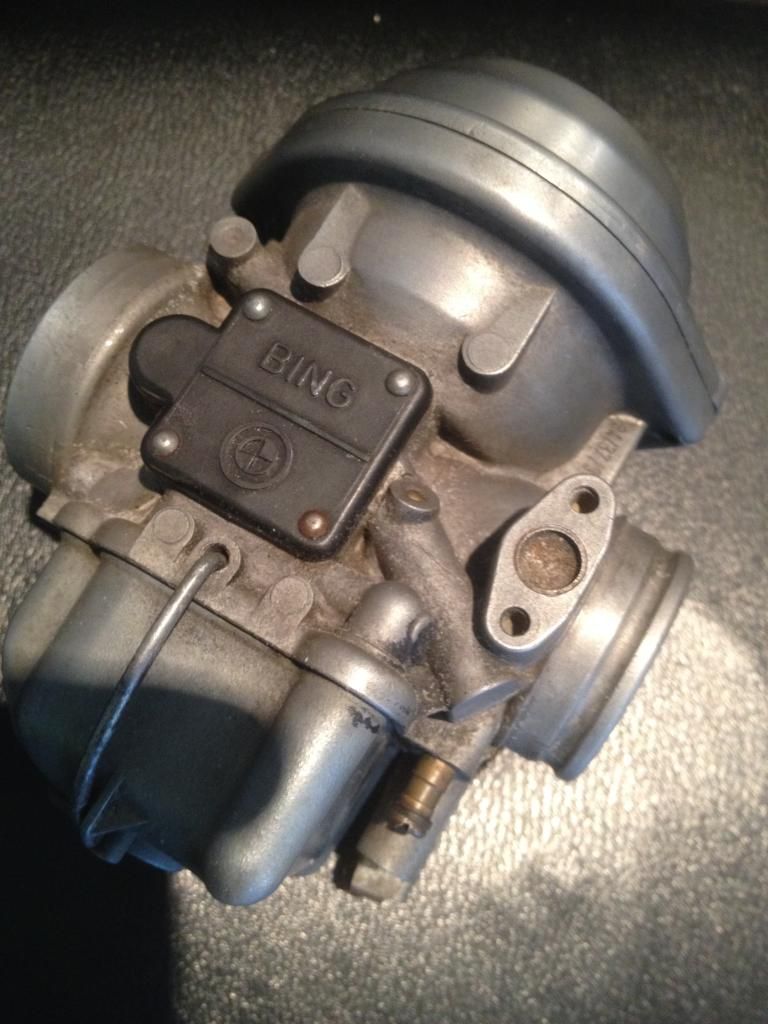 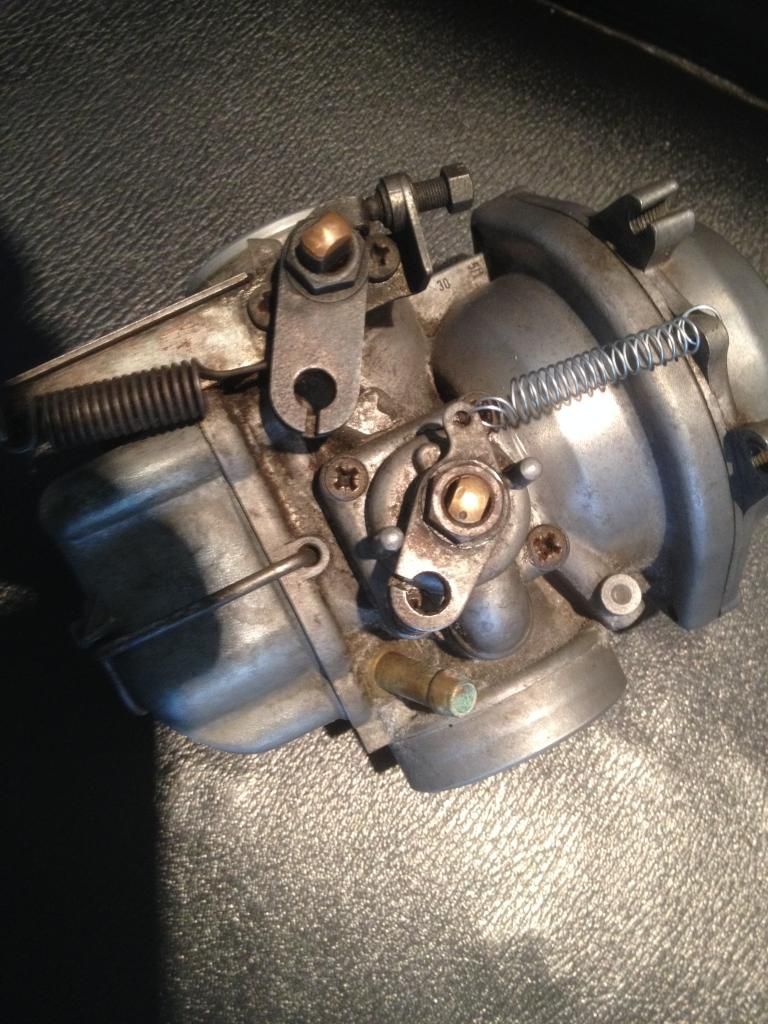 the other carb is still to do, 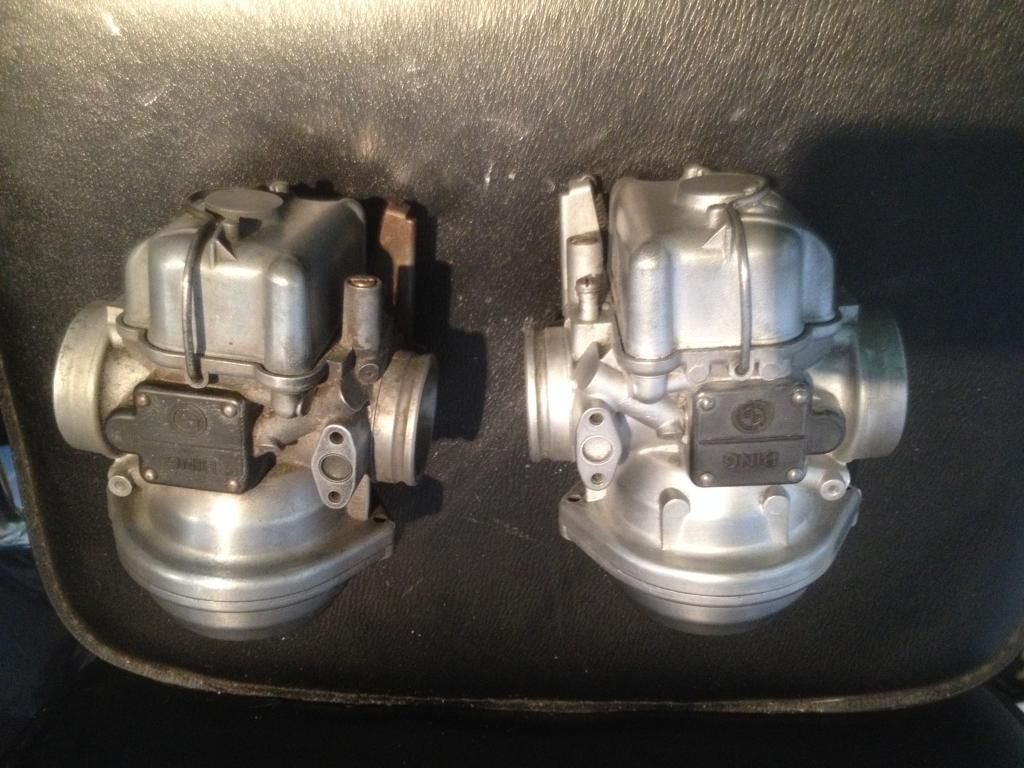 |
|
|
|
Post by HRHpenfold on Aug 22, 2014 11:07:16 GMT
I also took a look at the drive shaft today, it's a weak point on paralever Gs models, here it is,  the UJ's are staked to the shaft, and not re buildable, though there are a few places that will remove the old ones, and re fit new ones using a circlip and fit grease nipples, so it then becomes rebuildable, at around the £120 mark, mine though has other issues, 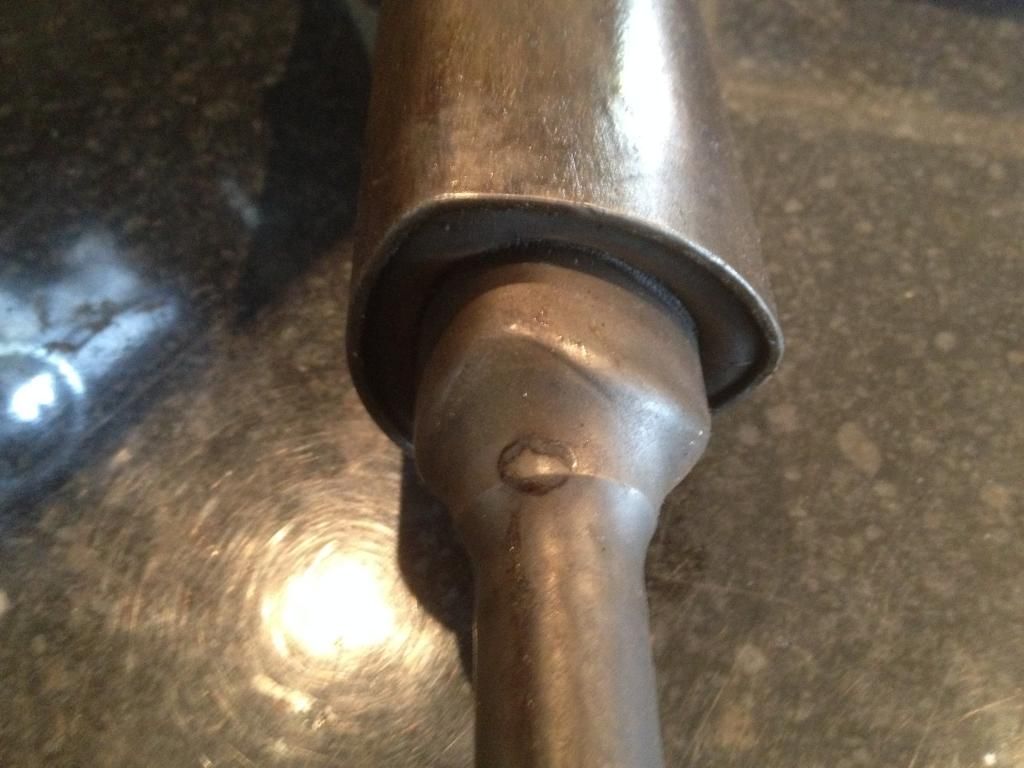 as you can see the center damper has moved relative to the body, the only place I can see that can repair that damper is in the USA, motorworks show an exchange reconditioned driveshaft for £240, though they don't say whether or not they replace the damper, here is a picture courtesy of Henderson precision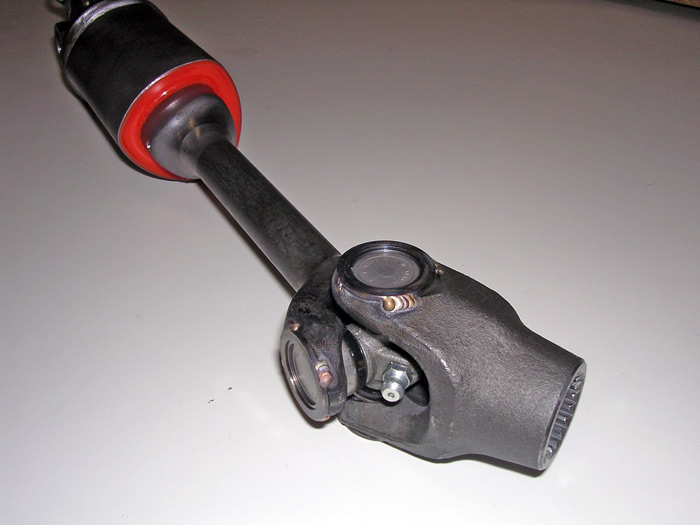 not cheap at $450 plus postage plus taxes so it looks like the best option is to buy a fully rebuildable aftermarket one supplied in the UK by motorworks,  a shade over £400 delivered, though a full rebuild kit is about £90 and each item can then be supplied separately, if you want to know how much a replacement OE one is £530 delivered, its been an expensive week! |
|
|
|
Post by DahDit on Aug 24, 2014 18:28:02 GMT
Eeek.
|
|
|
|
Post by HRHpenfold on Oct 17, 2014 9:53:17 GMT
Glad you pointed out the last bike was a Guzzi thought it was another Beemer. that had been down the road & sustained major damage to the cylinders  Neil Well it's been a long time since I updated this thread, I meant to do that a few weeks ago, but the shock of Neil's death kicked the enthusiasm out of me, I fitted the rather expensive driveshaft, swing arm and rear bevel drive, so it was finally back on two wheels, 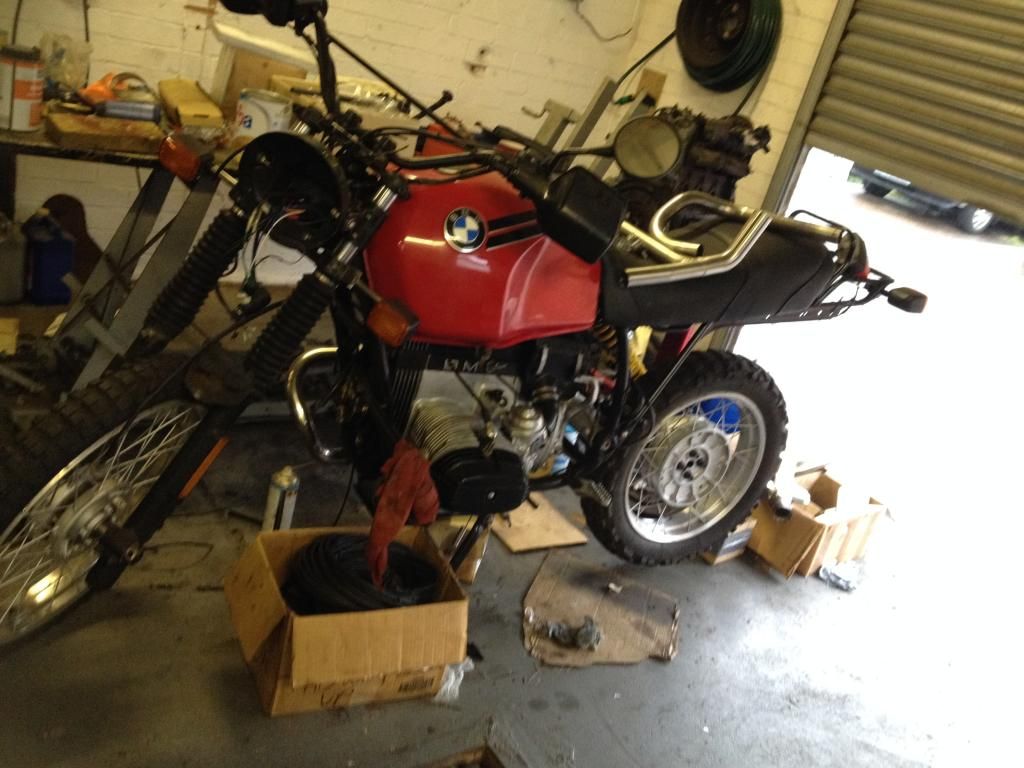 The original collector box was a bit worse for wear, 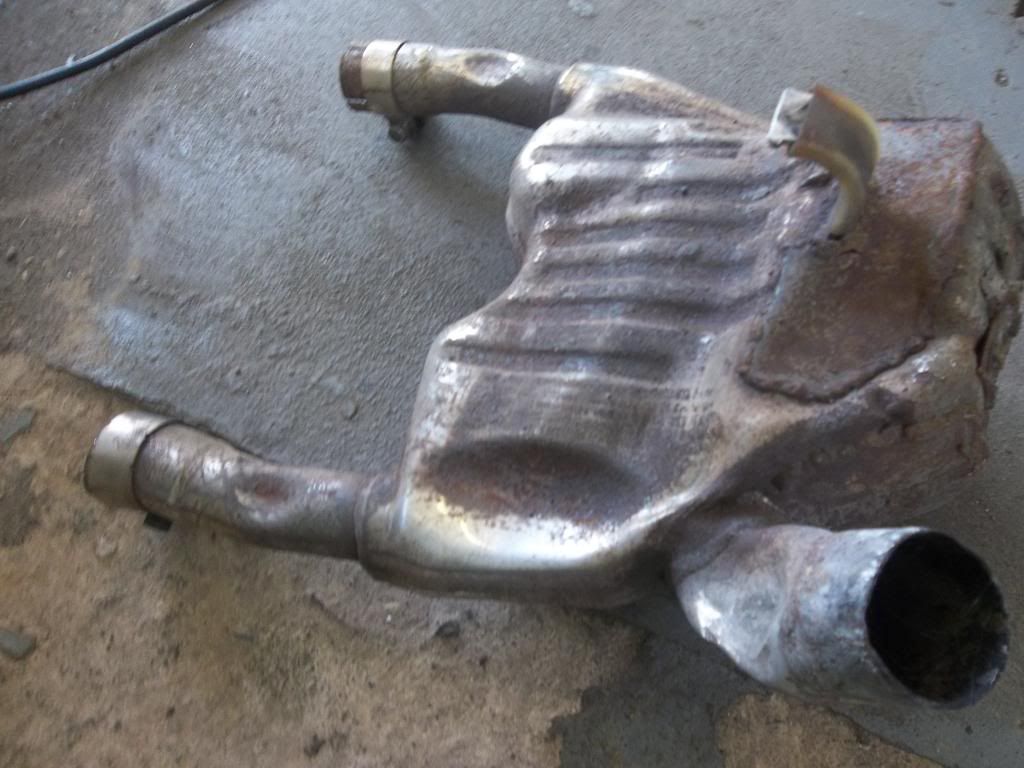 so I bought a link pipe to replace it, as I was planning on junking the original silencer, which was outwardly fine but was rattly corroded inside, replacment stuff for these bikes is stooped money, so a cheaper alternative was saught, problem is that the exhaust on these bikes also serves as the rear footrest mount and luggage rack mount, so I had to make a link pipe with this attachment fitted, 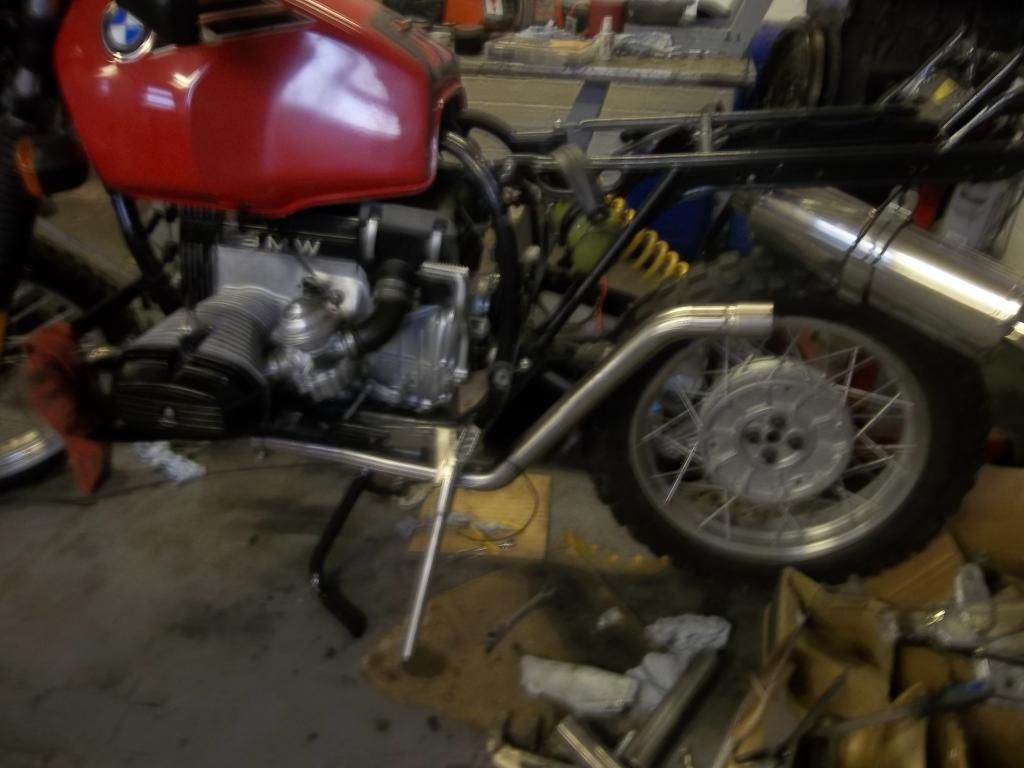 and the mount for the footrest,  all made out of stainless, using pre bought bend, welded to straight pipe,the silencer is a stainless scorpion can, that I paid £50 for 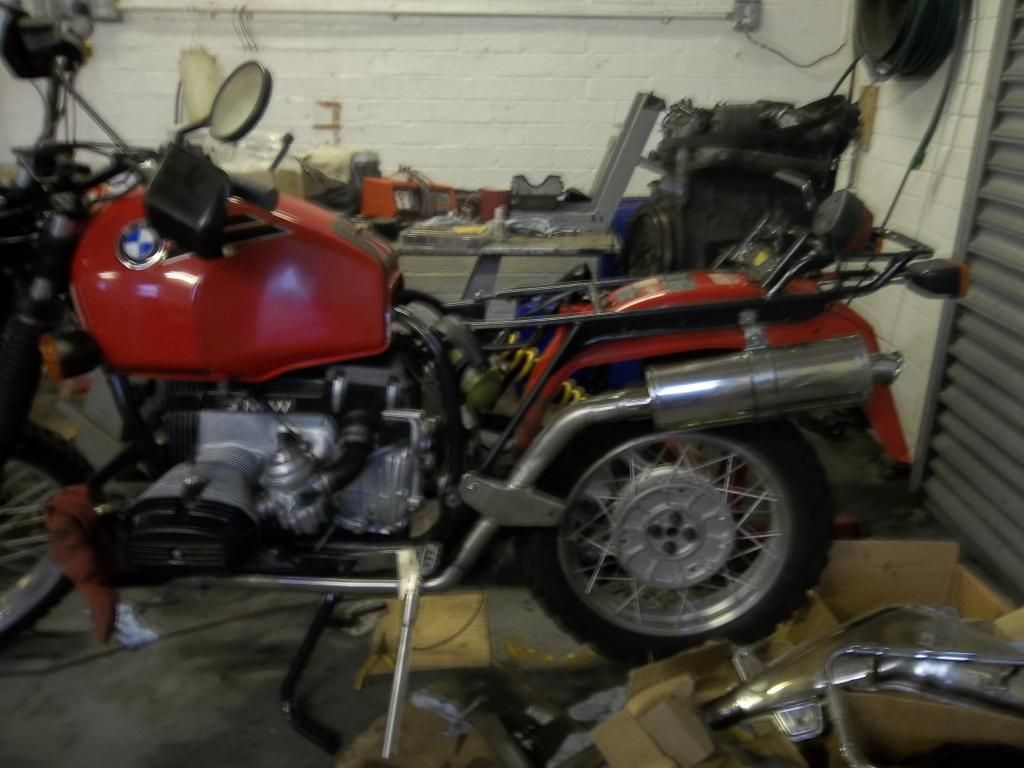 I also knocked up a new sidestand out of stainless, well I made 2 one for my R80G/s which was the easy one, note the shite original that you can't get to whilst sitting on the bike, 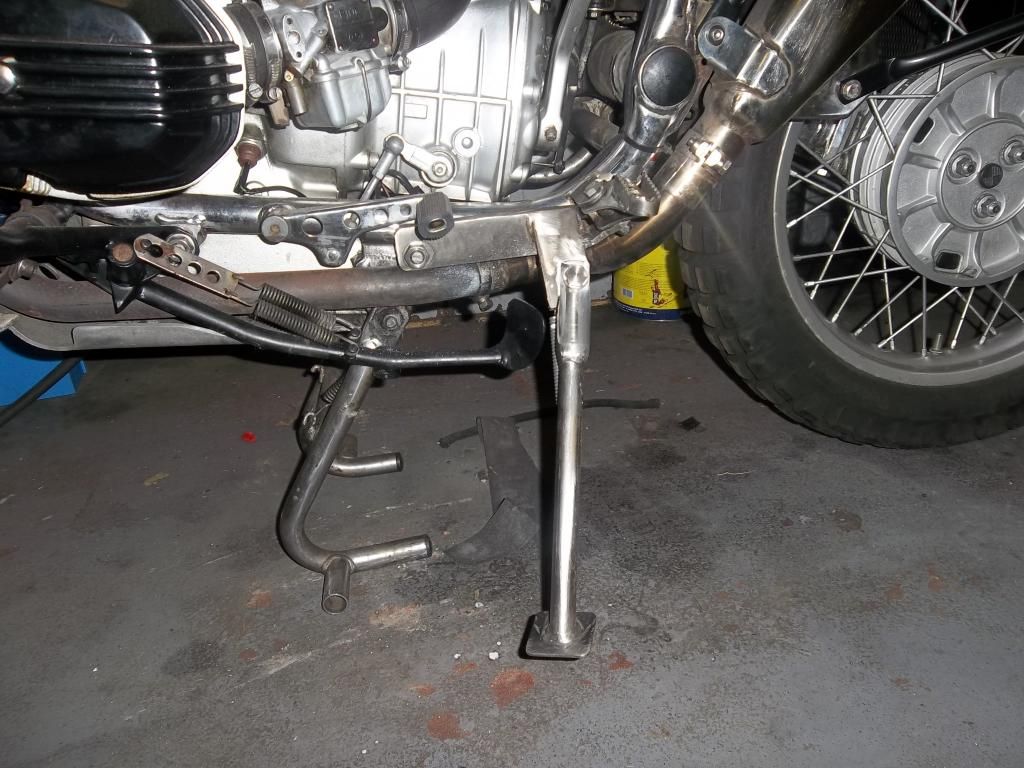 and the one for the R80gs, which looked the same, but then had to be changed as the center stand interfered with the operation, 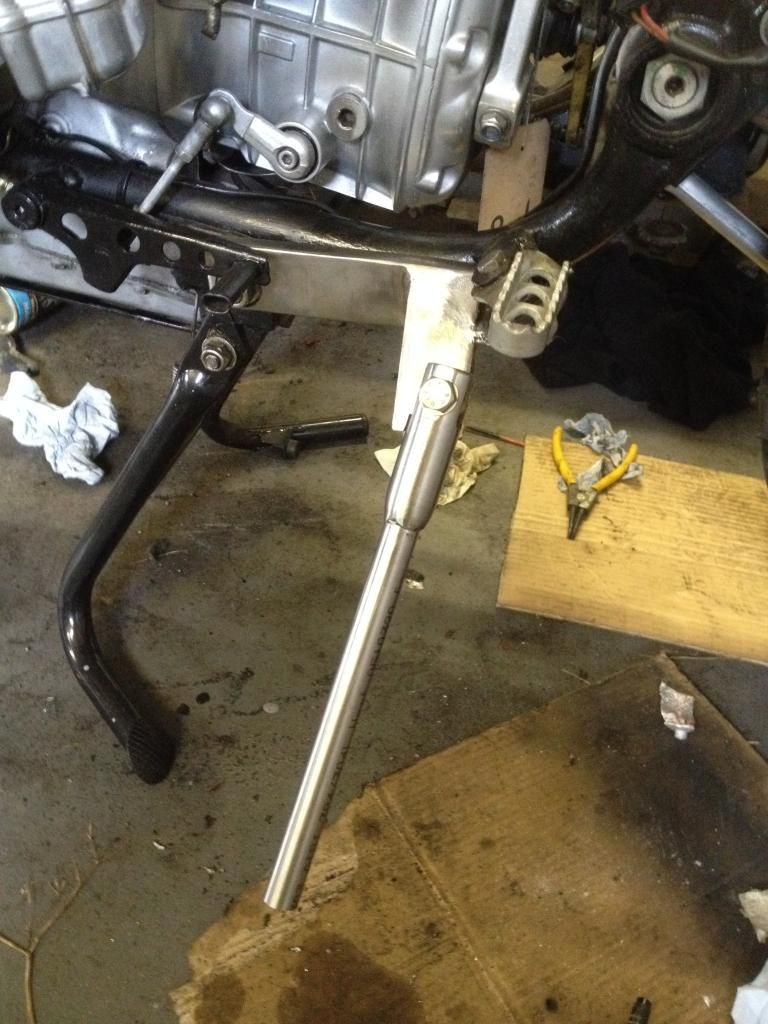 so ended up like this, 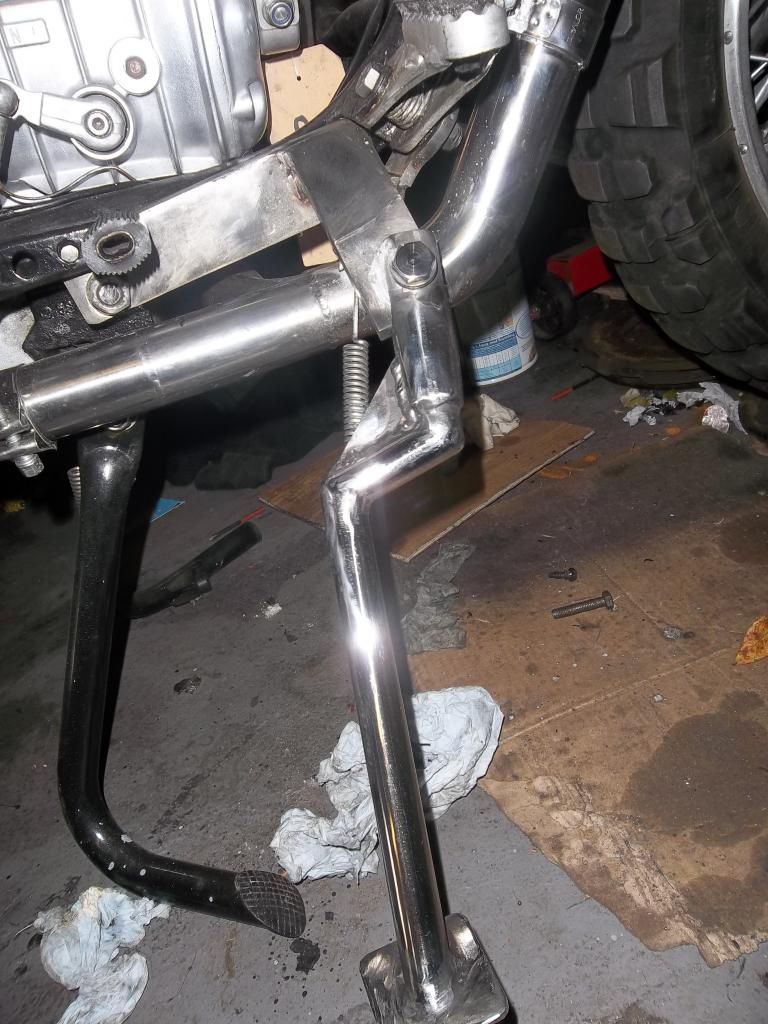 |
|
|
|
Post by HRHpenfold on Oct 17, 2014 10:04:05 GMT
I also have been doing a bit of work on my Le Mans project, not really a lot of work, just gathering a few parts ready for the complete build which won't really happen until next year, but making sure some of the big components fit and making some custom fit components, I am going to use aftermarket exhaust pipes, because they are cheap and look good if bought for british twins, to that end I needed a custom collector box, to fit both the downpipes and the silencers, so I bought some stainless pipe, 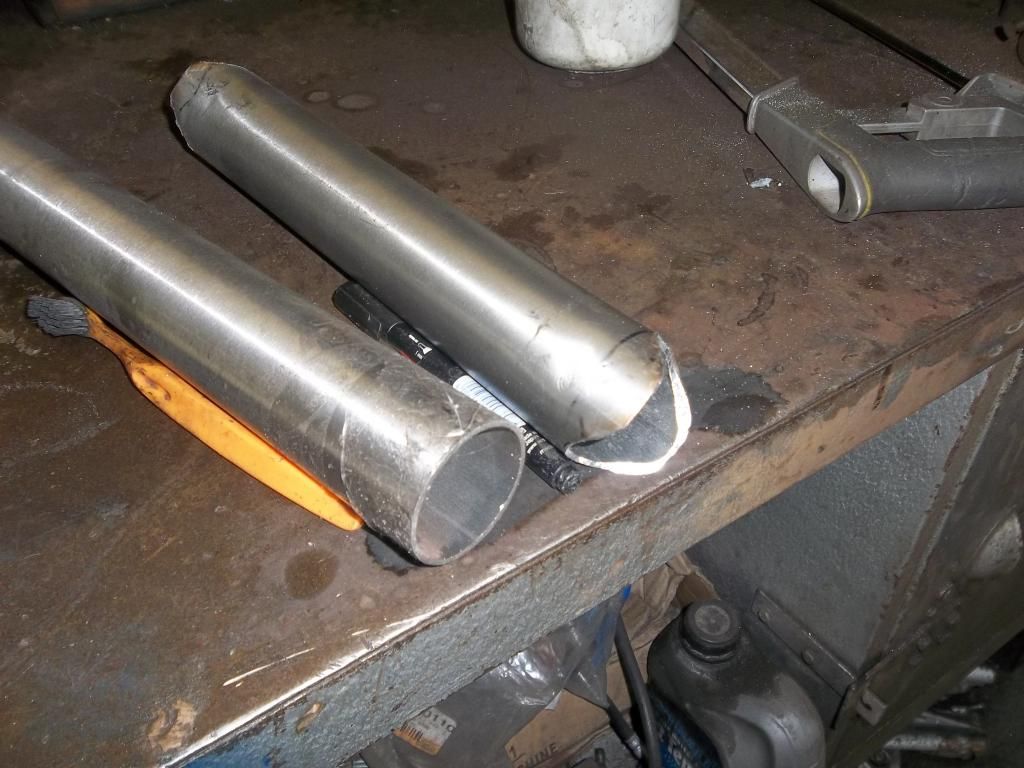 and welded it up into this, 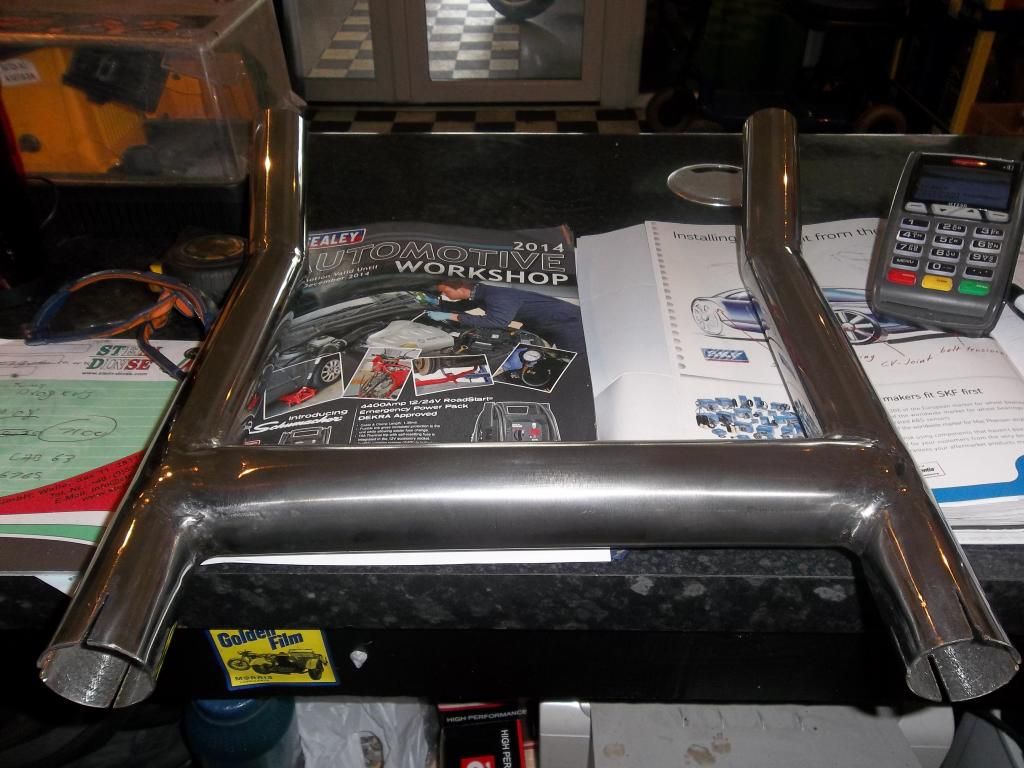 |
|
|
|
Post by DahDit on Oct 17, 2014 10:35:39 GMT
Proper job. |
|
|
|
Post by m40man on Oct 17, 2014 12:26:43 GMT
Nice metalwork. I can see a cottage industry here for D9 collectors & centre stands production . |
|
|
|
Post by HRHpenfold on Oct 17, 2014 20:27:54 GMT
Nice metalwork. I can see a cottage industry here for D9 collectors & centre stands production . I now understand why these things are not cheap, I made the stands because a plain steel aftermarket sidestand was £200, but I wanted stainless! As for the exhaust link pipe, unobtainium, but with can as well circa £1000, The H pipe for the guzzi can be had for a mere 88 euro's plus postage, to fit common replacement pipes, at around £400 a pair in stainless, though I opted for chrome shorty cone silencers, which cost £65 a pair delivered, but needed a far longer H pipe, with the kick up at the ends, It's time consuming, but really is custom made, and cheaper than buying if you discount the time involved, but if you charging for time, it would be uneconomical! |
|
|
|
Post by DahDit on Oct 17, 2014 22:47:11 GMT
Not for the hoi polloi then There's me thinking only Japanese plastic was made from unobtainium. |
|
|
|
Post by HRHpenfold on Oct 29, 2014 20:06:12 GMT
Well things move slowly in the Penfold kingdom, a car wheel phone interface got in the way of me taking photo's, anyhow I a bit of fiddling with the charging system, BMW's and moto guzzi's have the same charging systems that are unusual in that they have electro magnet's, normal alternators have permanent magnets, the rotor is a coil of wire which rotates with the engine, the amount of magnetism is regulated believe it or not by the regulator, more electric to the rotor, more magnetism and more power generated in the 3 coils of wire in the stator, which is fixed to the case, here is the stator, I tested them electrically, the rotor was 3.2 ohms and each phase of the stator was .8 ohms 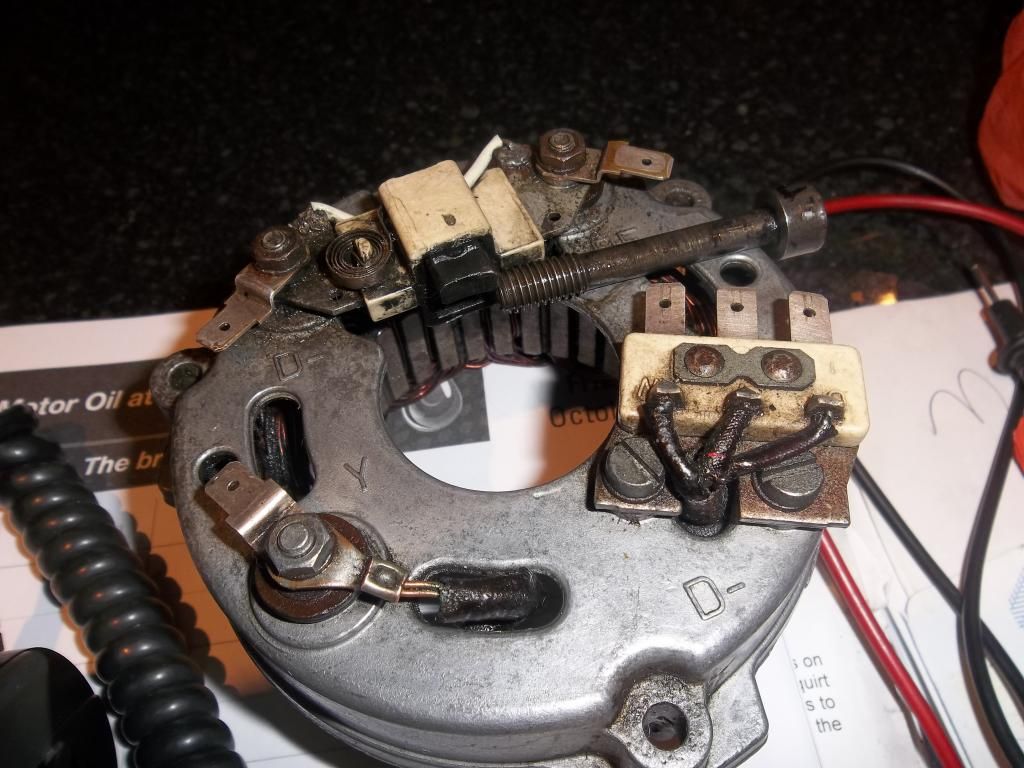 I cleaned all the contacts and replaced the brushes, which are mounted so they connect to the rotor, I cleaned up the rotor on the lathe, 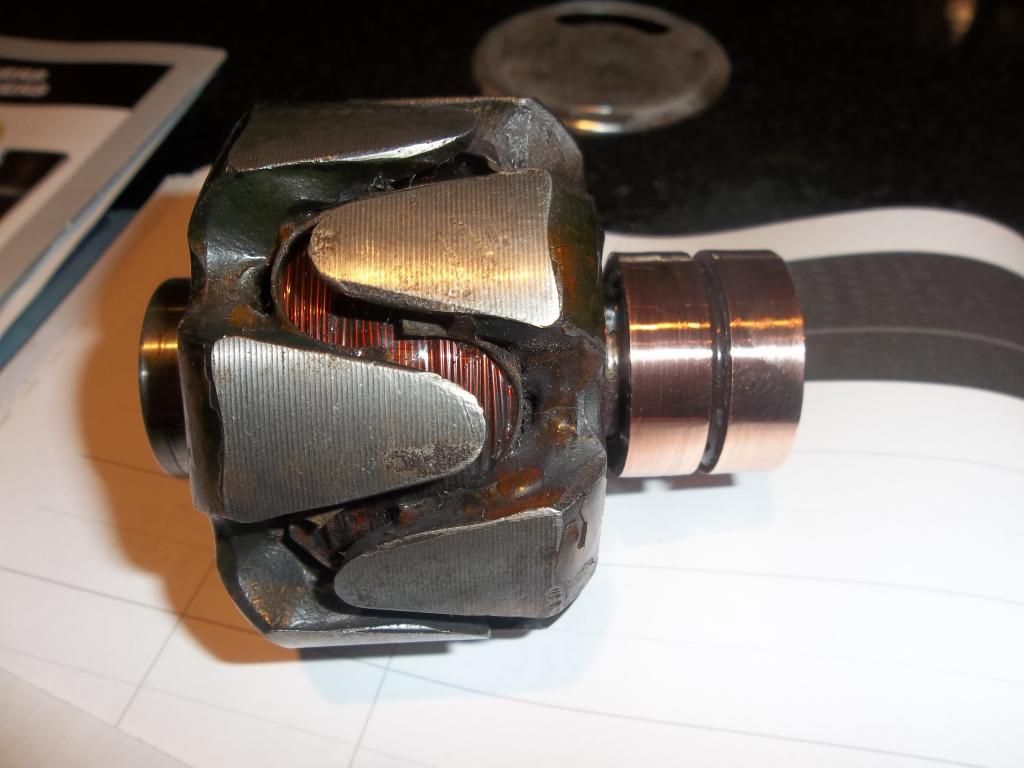 I then put it all back on the bike! I was planning of replacing the original clocks with something simpler, so I cut some stainless, 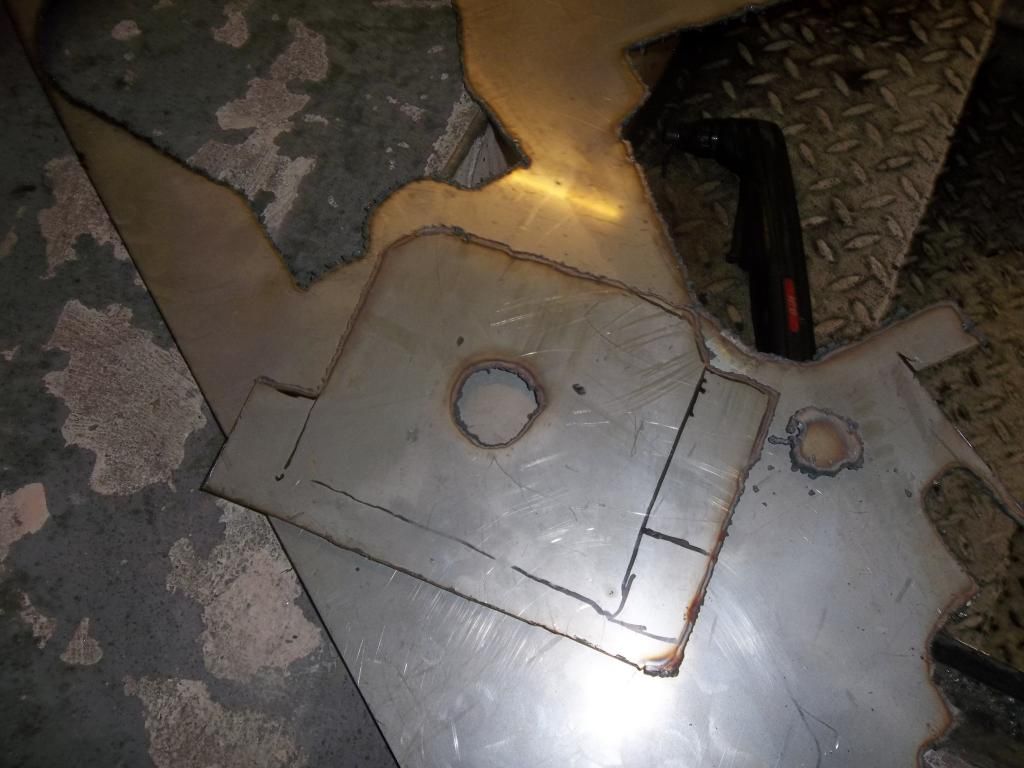 And made it into a simple small dash in which to house the speedo, 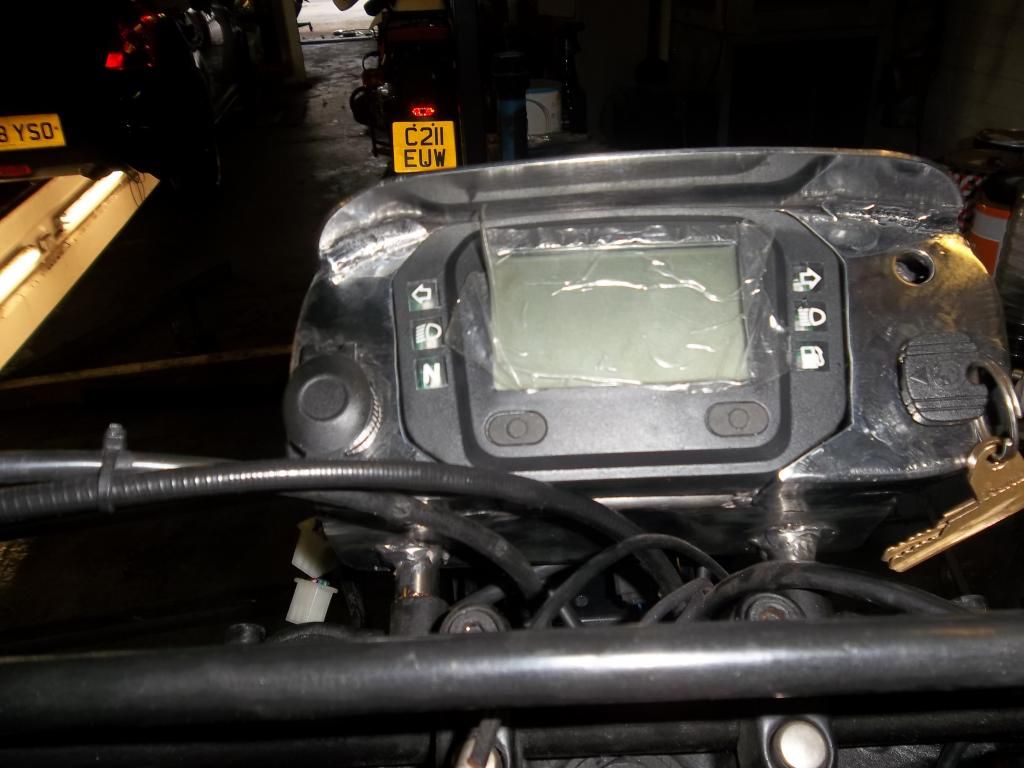 Though finishing it is being held up by ordering a 3 pole waterproof switch to operate the heated grips, which is thought I was buying from a UK seller, but probably come from china hence a longer delay, I was fitting genuine Bmw heated grip kit, but the rocker switch is a pain to fit, as was the ignition switch, the original switch contains a resistor to one side to give the half power, so the switch is bulky and shaped to fit holes in the standard dash, Anyhow I re tapped the throttle cable threads on the carbs, fitted new cables to the throttle and the choke, the chokes need new return springs though, 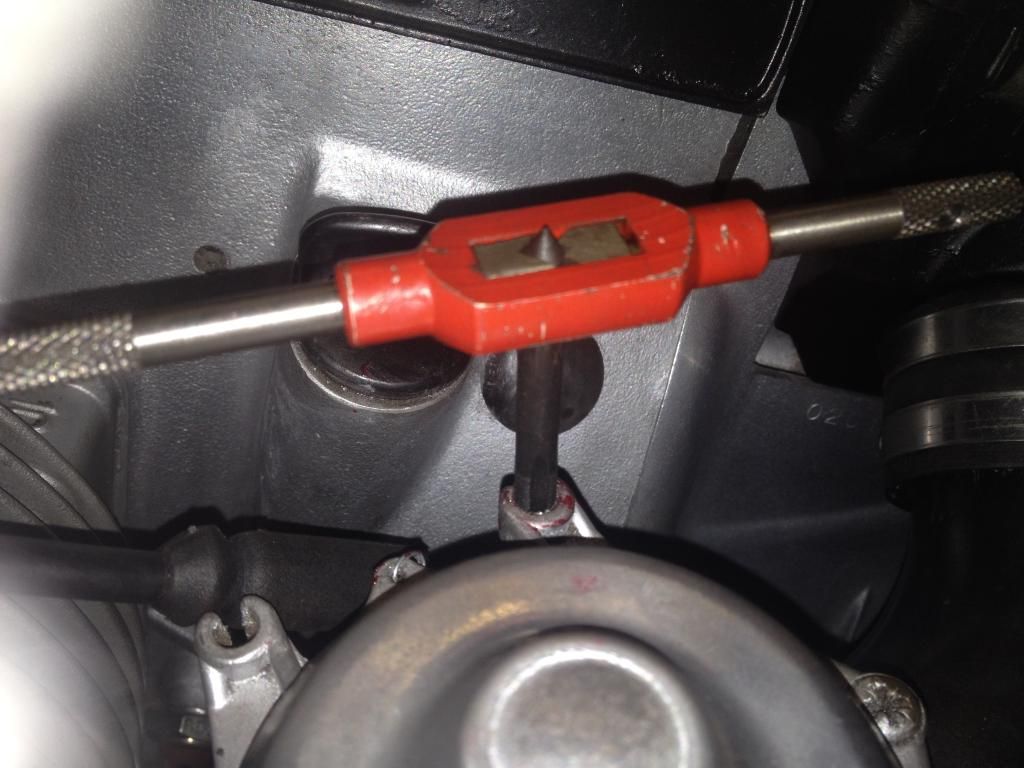 And fitted the sensor for the speedo to the front fork, 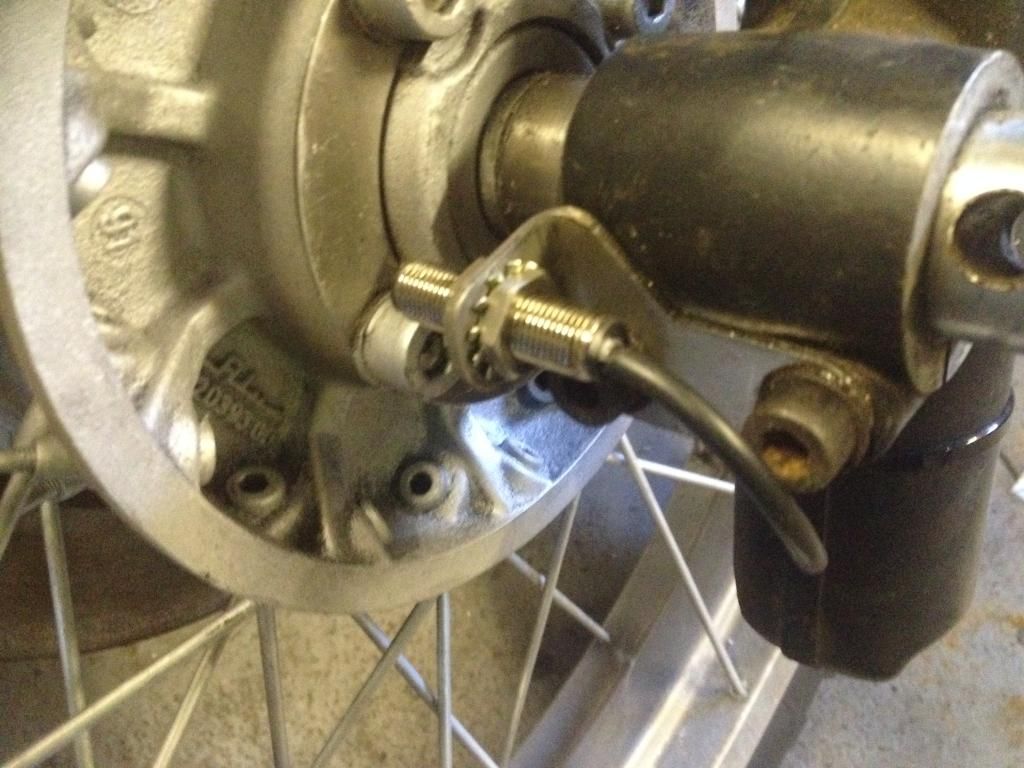 The magnets fitted in the disc bolt holes, just using the magnetism to hold them, 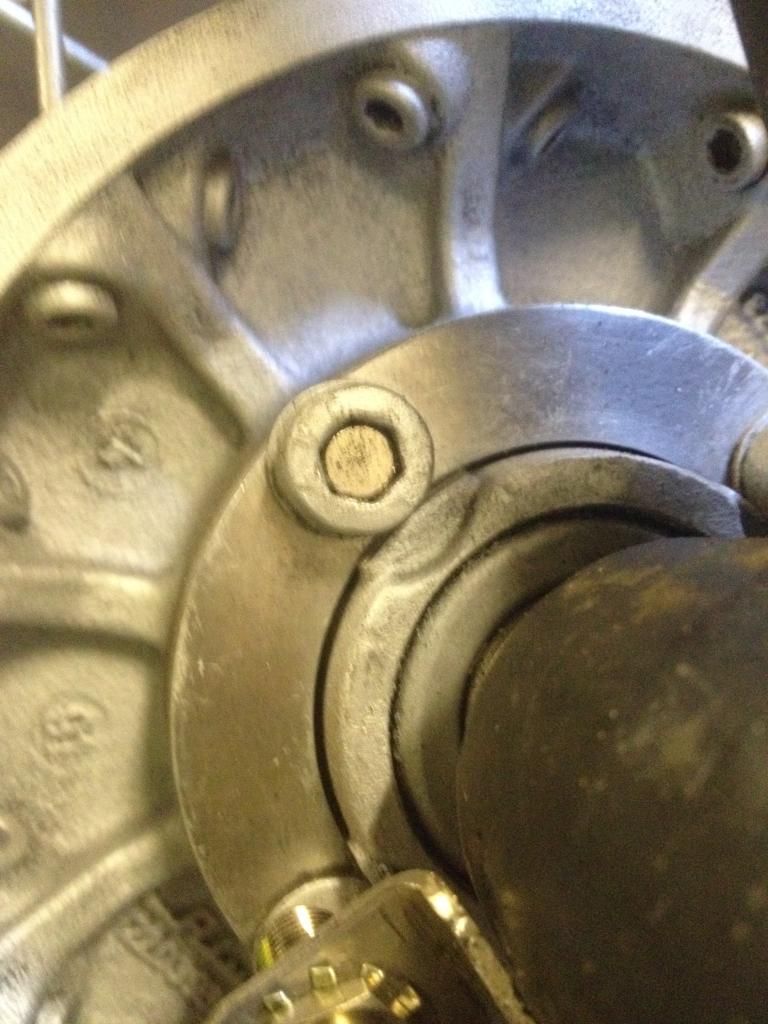 , I have of course been tightening all the suspension, fitting the battery box, which were awaiting some new stainless nuts, that I bought from the Stafford show. |
|
|
|
Post by HRHpenfold on Nov 7, 2014 14:00:21 GMT
well things move slowly in my world, one of the big jobs was to wire in the digital speedo that I bought off ebay for the total sum of £55, I had bought a spare dash with better paint and better warning light cluster, so the old warning light cluster was utilised for the plug in which to wire the cluster to I wired in two 2w lights, to cover the charging and the oil pressure light, that was simple, the instructions though seemed to lack clarity being written in the finest chingelish, when wired up and the battery connected, it was clear that I had made some errors, when the front left indicator was flashing both the right warning lamp and the right back indicator were flashing, and as the bike has no fuel sender, to connect to then the fuel warning light was on, I switched the connections, and earthed the fuel sender lead, which put out the light, but shows a full tank on the dash, maybe I should have opened the unit up and cut the led, 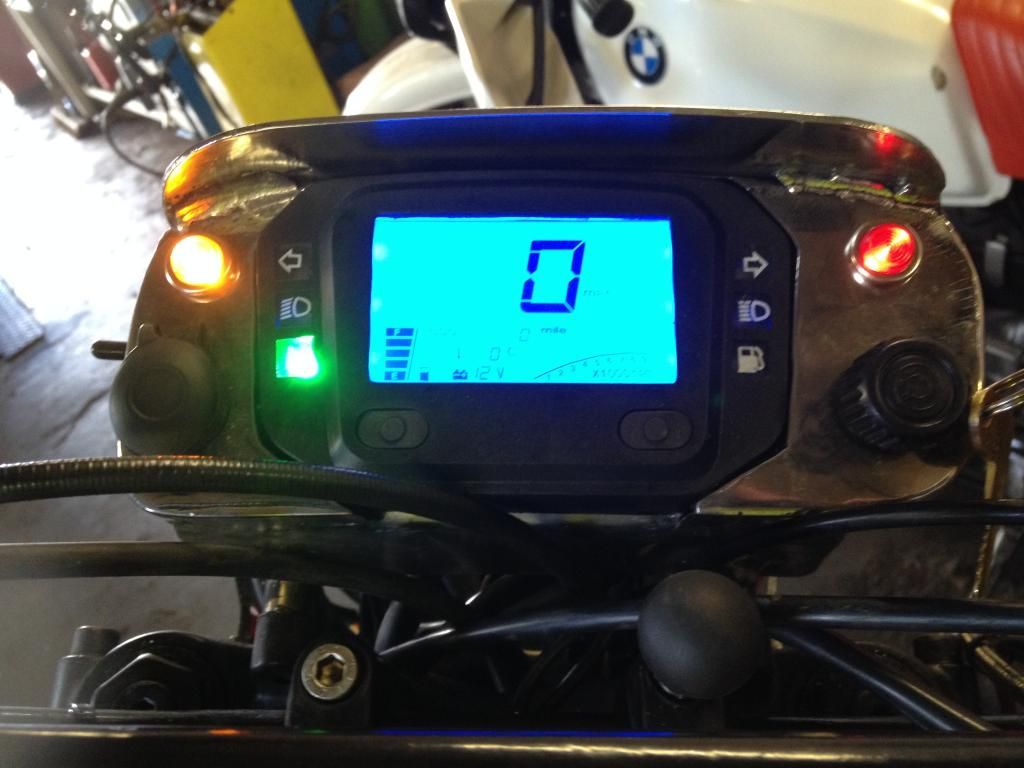 The gauge came with 4 magnets, so I tried them in the disc mounting bolts, then struggled to remove them, so it seemed fate had decided that's where they should be mounted, so I knocked up a bracket to hold the sensor out of stainless, bend using the BFH tecnique! 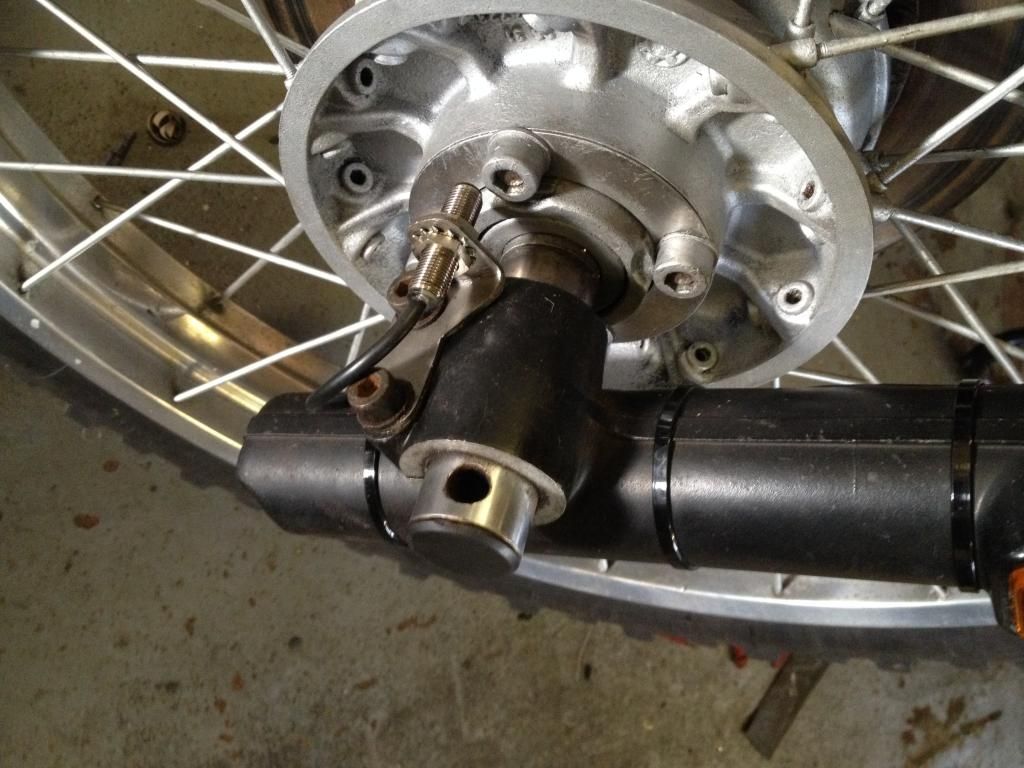 the heated grips were genuine BMW ones that I had picked up new but cheap, but unfortunately, there was no room for the hard to fit switch and having struggled to fit the ignition switch, I wasn't going there, so I decided on a cheap mini 3 way waterproof switch, the original switch incorporates a resistor on the low setting, so consumes the same power on high as low, with the resistor heating and therefore reducing the temperature of the grips, an old wiring diagram determined that it used a 6 ohm resistor, so I fitted one that normally makes Led indicators work with the old heat type indicator unit, I mounted it in the airflow, 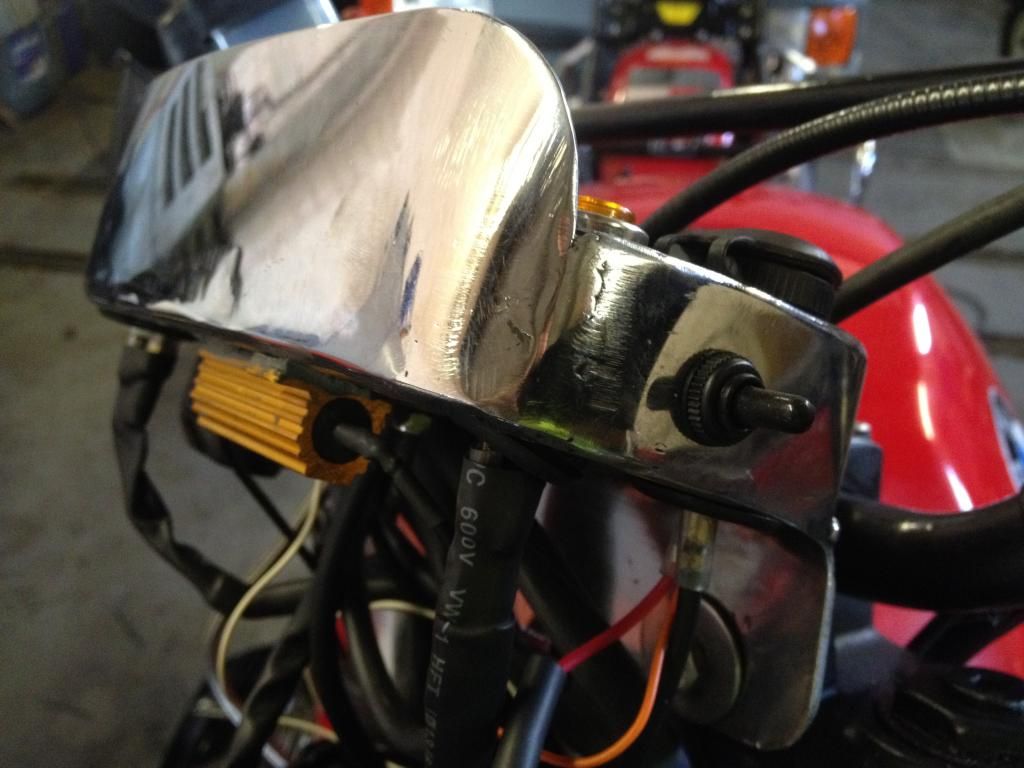 fitting the grip wires taxed the penfold brain somewhat and I made the mistake of using brown for live and black for earth, which is the wrong way around, this meant that only one grip worked, because the wires after the switch join together after the resistor, Doh as well as that the connection into the loom to feed both the lights and heated grips, only worked when the lights were on, I had wired into the side lights instead of into the brake light, to operate the relay, so that was changed,now all working fine, so as the battery is on, and the wiring sorted, petrol tank fitted with 8 month old fuel, will it start? will it buggery, first issue leaking right hand carb, fix that and try again, spins over pretty fast but no start, check for a spark, that appears intermittent, tank off push HT connections into the coil, bike now sparks, but still wont start, put battery on charge and go home, try again the next morning but spins over crisply but apart from a few back fires, no sign of life! so I start to look into the timing, sparks are produced but were they happening at the right time I wondered, the BMW is unusual in that advance and retard are done using the old fashioned method of spinning weights, most other manufacturers had went to fully electronic ignitions by the early part of the 80's, 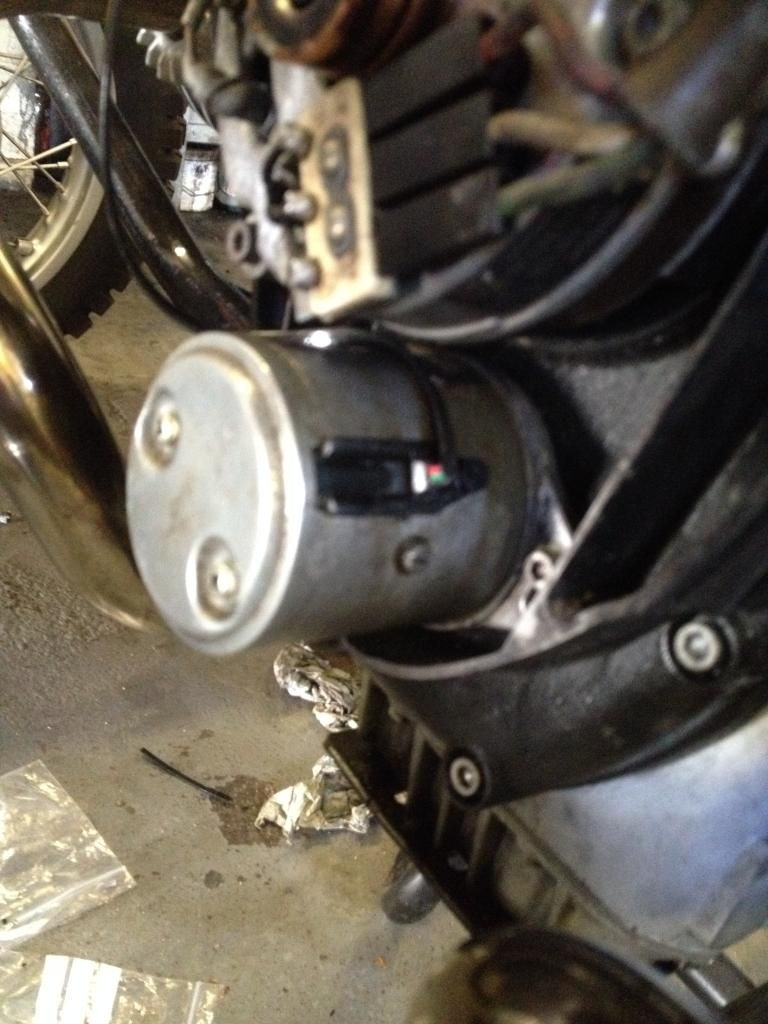 by prying off the cover I determined that it was in fact stuck, so I tried lubing it through the hole, but I could not get the weight's to return under the spring pressure, so pull it apart, which was not easy, 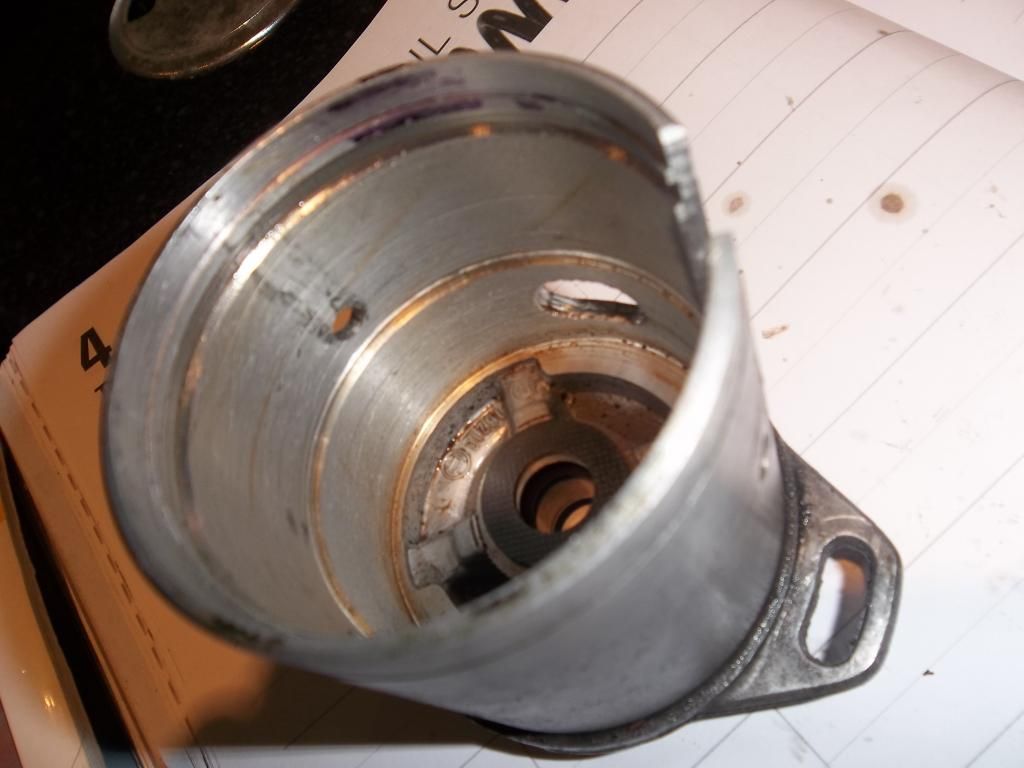 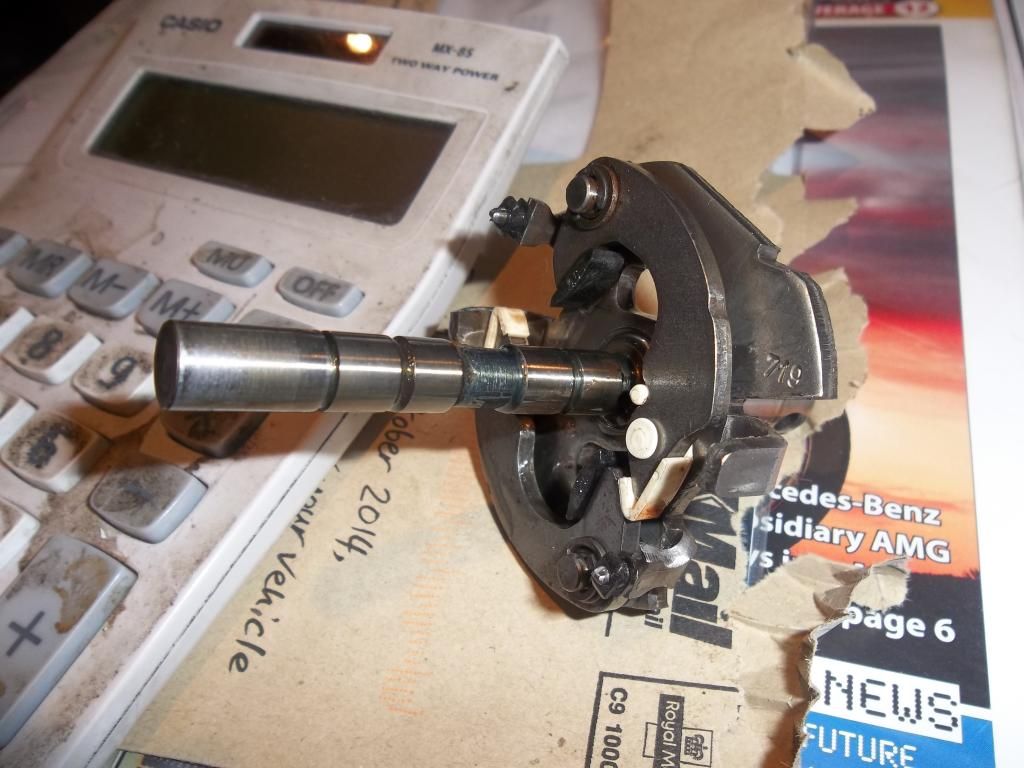 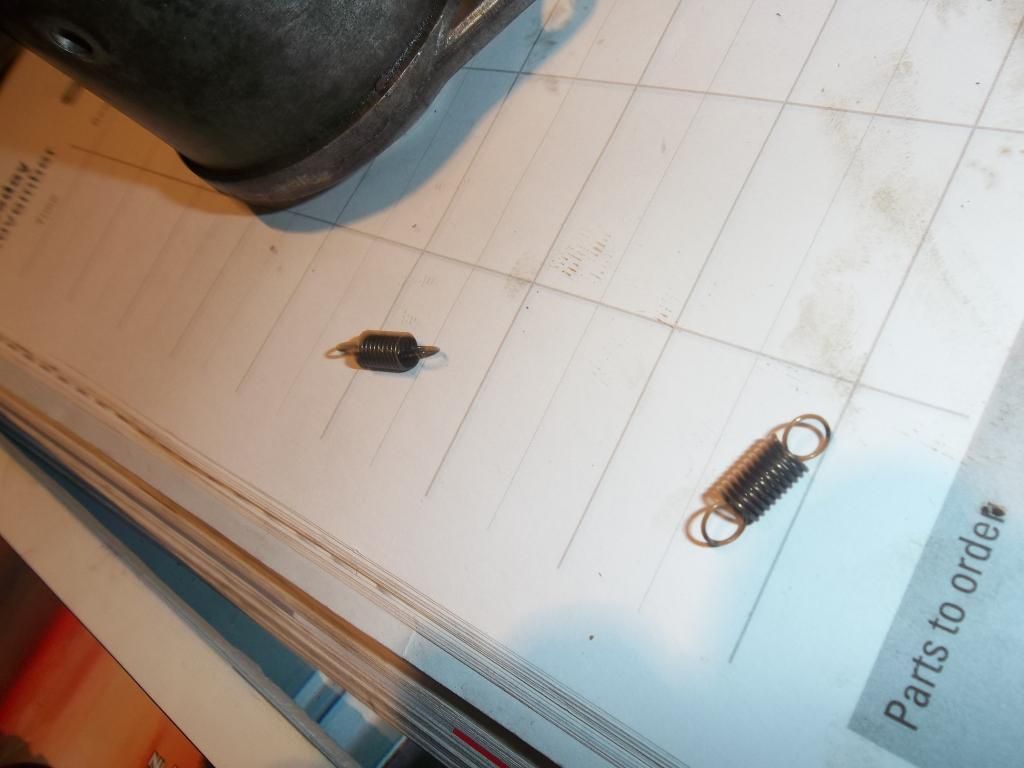 |
|
|
|
Post by HRHpenfold on Nov 7, 2014 14:17:00 GMT
so I cleaned oiled and put it back together, fitted it to the bike, got the timing to where I think it was not to far out, which is difficult as the electronics shut the power to the coil after a few seconds, so not producing a spark, anyhow she fired up and ran roughly, which is perhaps expected considering the 8 month old fuel, hoorah anyhow time to sort out the rear brake light and the front brake caliper, the brake light needing the tab bent, the tab pushes the switch which holds the light off, simple, if you remeber the old front brake, which is a pretty standard fitment onto Bmw's and Guzzi's of the 80's and 90's, it's definitely under braked, and I wanted to improve it, so I made a bracket to fit a later Bmw caliper, 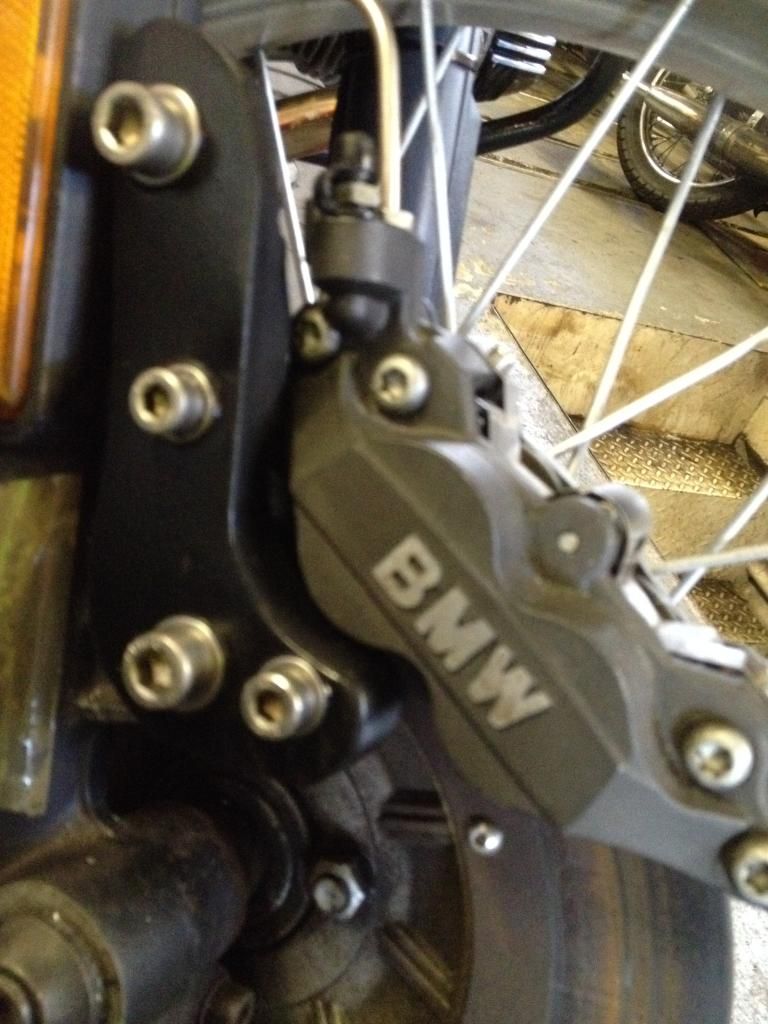 bleeding was a pain, using both, a large syringe and a suction bleeder, but it works now, it's a little soft, but will firm up a bit once it beds into the disc, 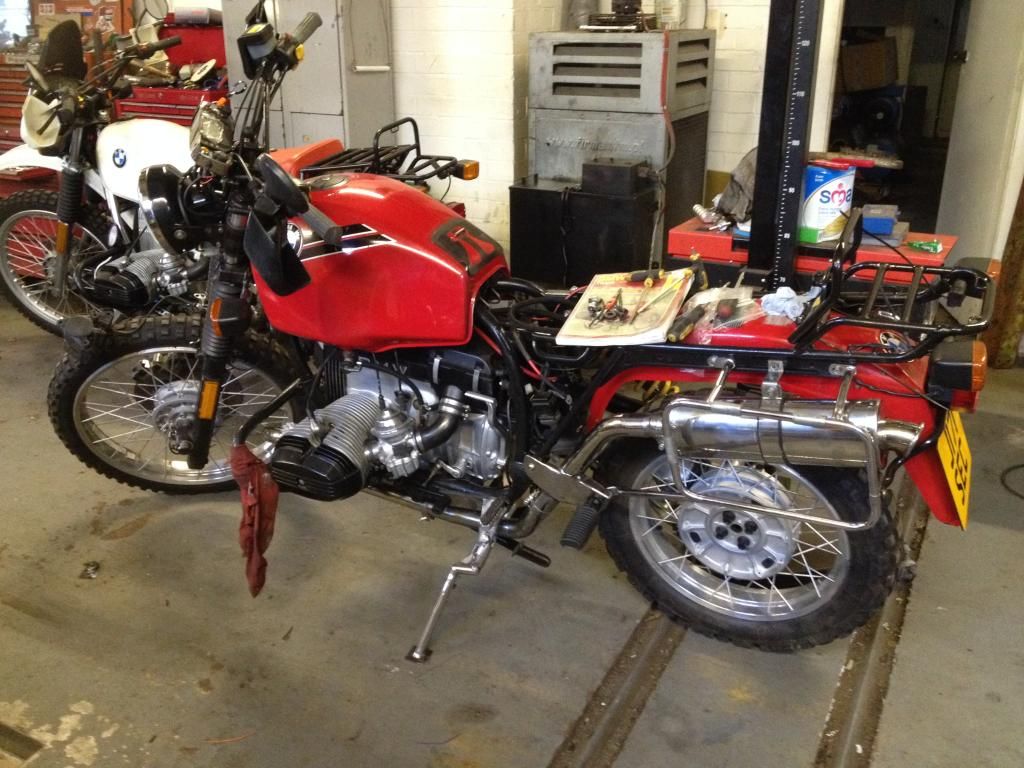 |
|
|
|
Post by HRHpenfold on Nov 10, 2014 15:30:43 GMT
Well today I decided to set the valve clearances, it's easy on these, the hardest job is re putting the two 10mm cam cover nuts back on, take plugs out, thumb over the left hand sparkplug hole, turn motor using kickstart, once you feel compression, allen wrench on the rotor bolt until you see OT in the hole showing the fly wheel, then set the clearances the old fashioned way with screw and lock nuts, both sides were quite tight! 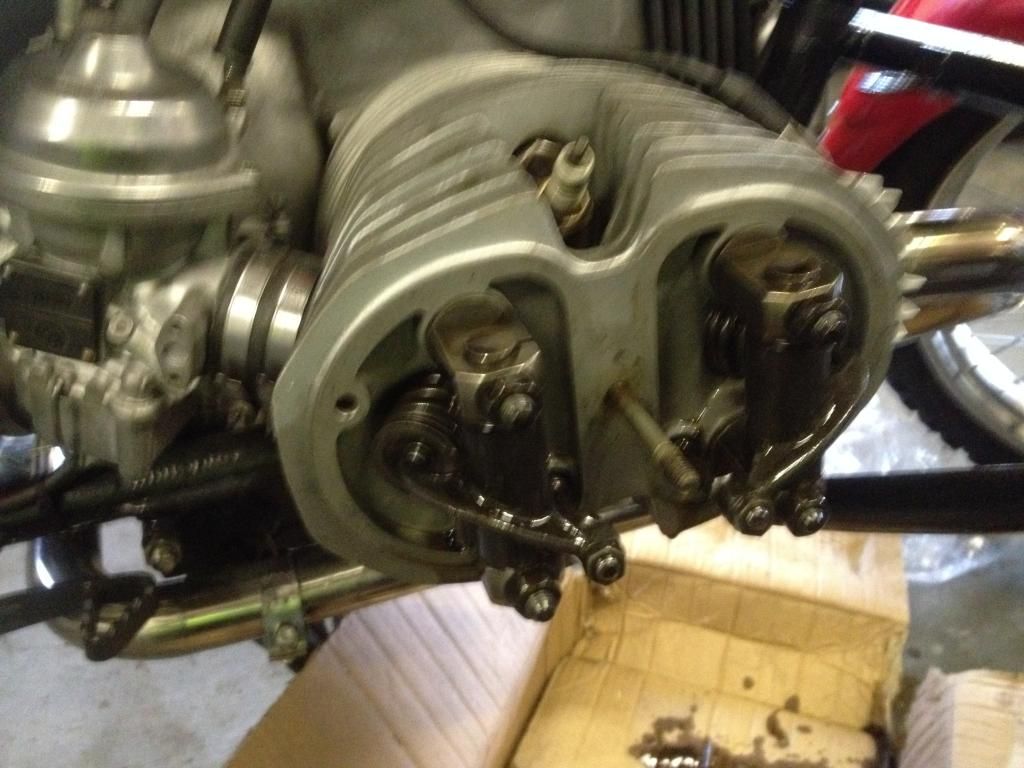 oil was certainly getting to the heads, so that's good! |
|
|
|
Post by DahDit on Nov 12, 2014 9:24:19 GMT
As interesting and educational as ever. |
|
|
|
Post by HRHpenfold on Nov 12, 2014 10:27:50 GMT
Yesterday I cleaned the underside of the tank of any rust, used Vactan rust killer, then a coat of red lead primer, as it was the only red paint that I had to hand, 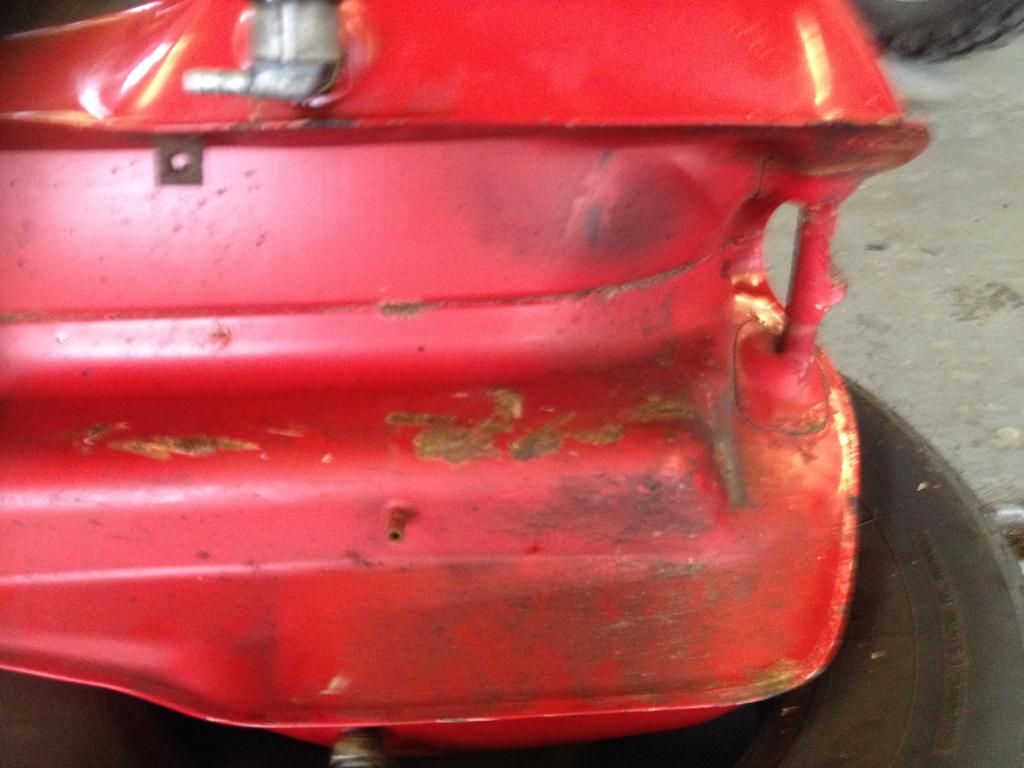 and I set about removing the old tank badge, removing the badge proved easy, the sticky tape that was used was less easy, but it eventually came off, 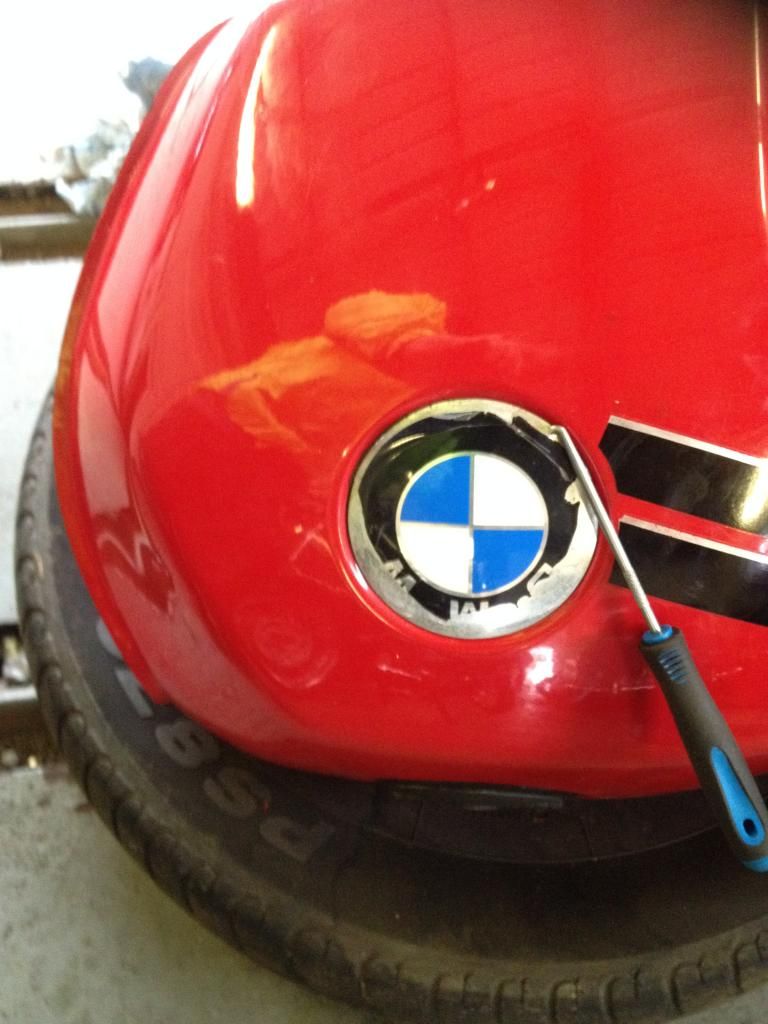 to be replaced with the new one that I bought many months ago! 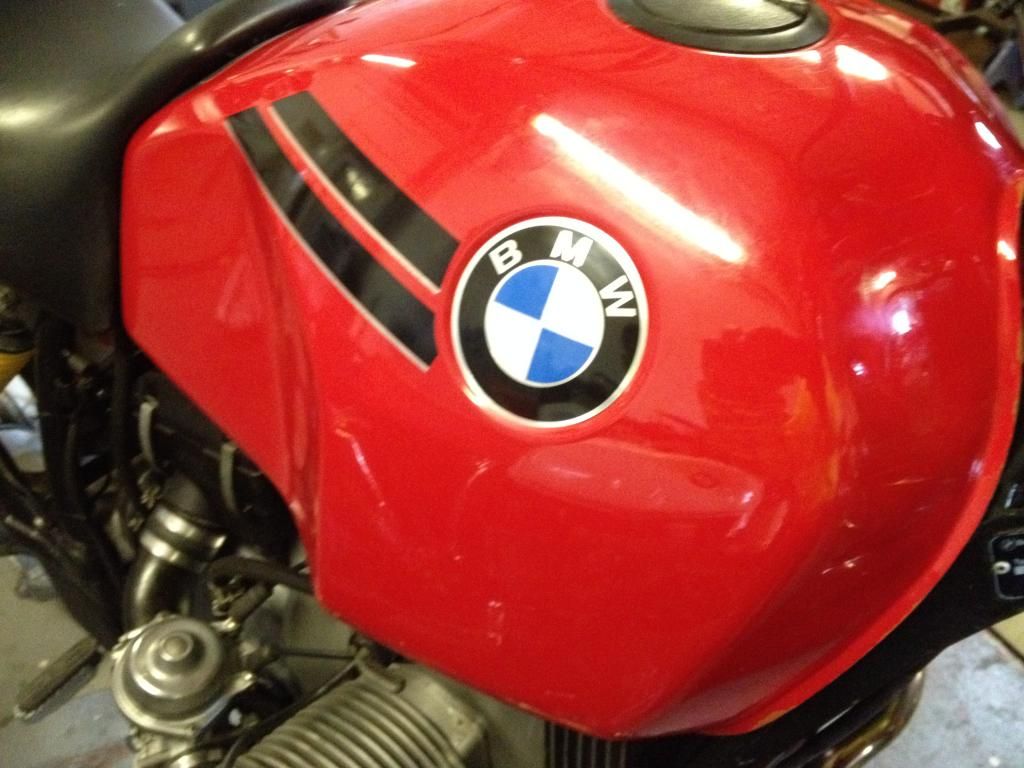 I also had a right hand carb issue, the carb would flood, so I cleaned out the tank filters, still the carb flooded, so I cleaned the carb, where the float needle seats, this still leaked, it would probably cure itself once running properly, but as I had a pair of float needles that I originally bought for my 800RT at huge expense, but it stopped leaking before I changed them, apparently you can buy them cheap for Amal carbs, which are the same needle valve, and direct from Amal, the red one is the original, the other the new replacement! 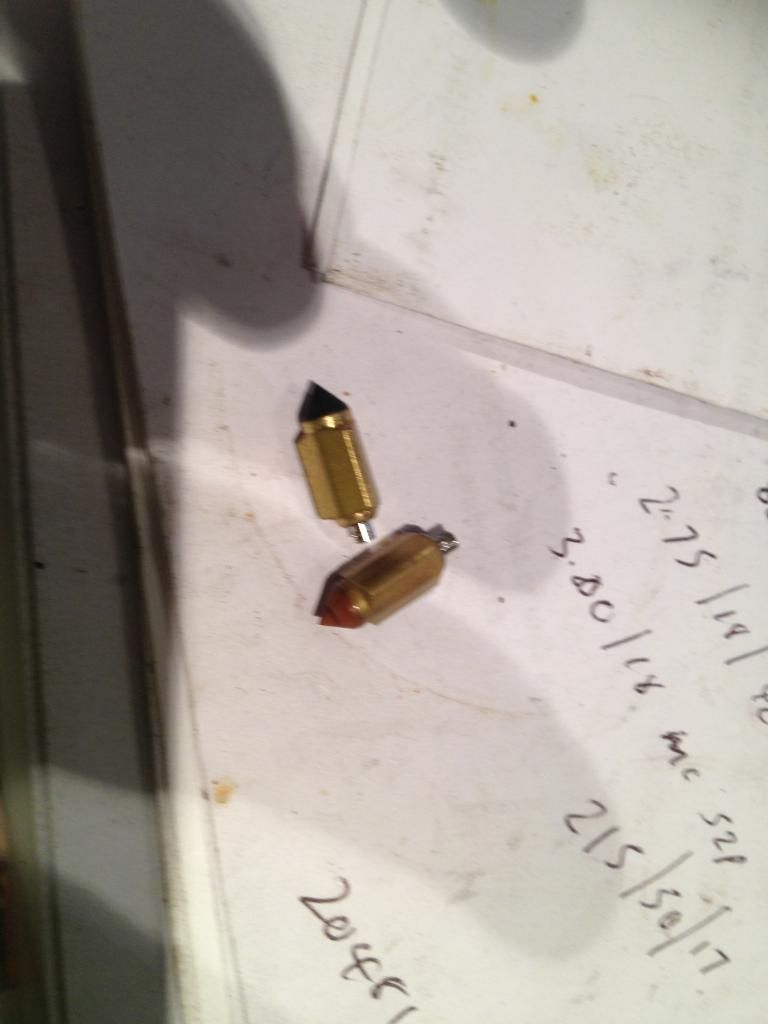 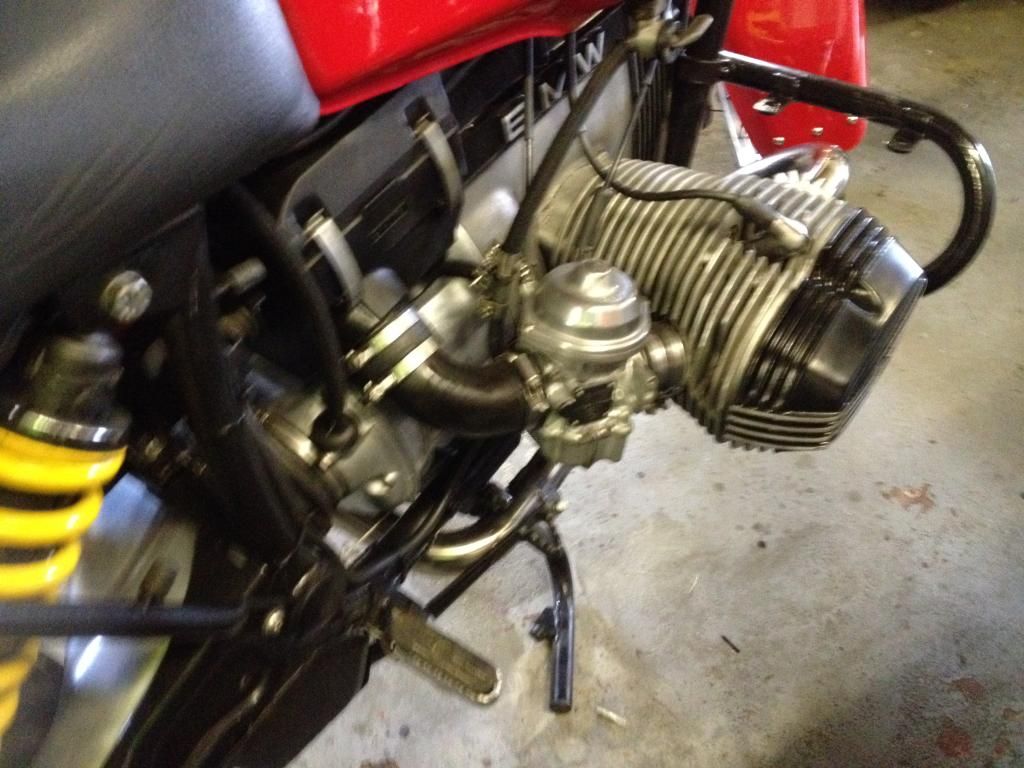 |
|
|
|
Post by HRHpenfold on Nov 12, 2014 10:38:41 GMT
I eventually found the front cover and fitted it, it will need removed in order to do the timing, once I have some fresh fuel so I can tune the carbs 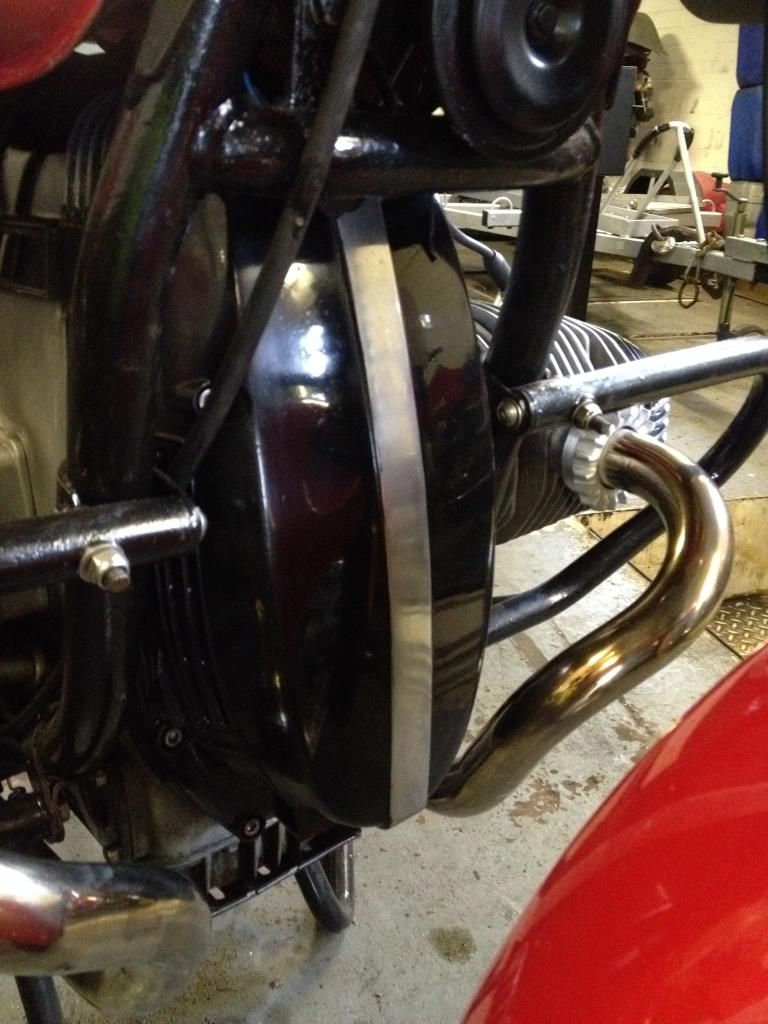 some better pics 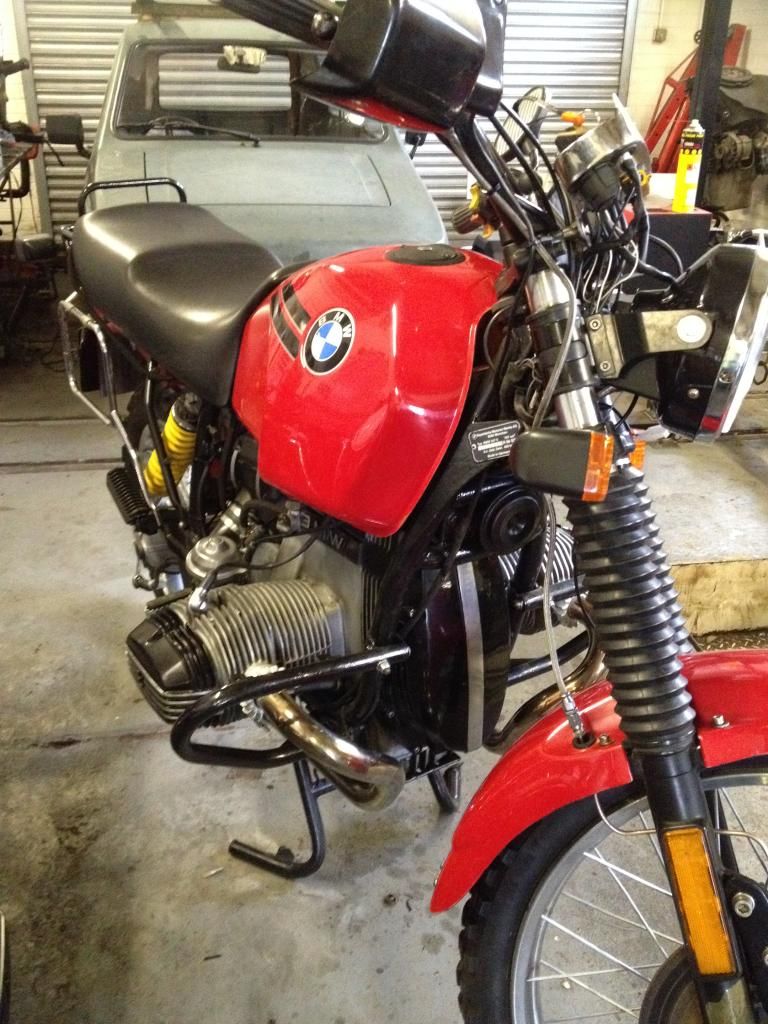 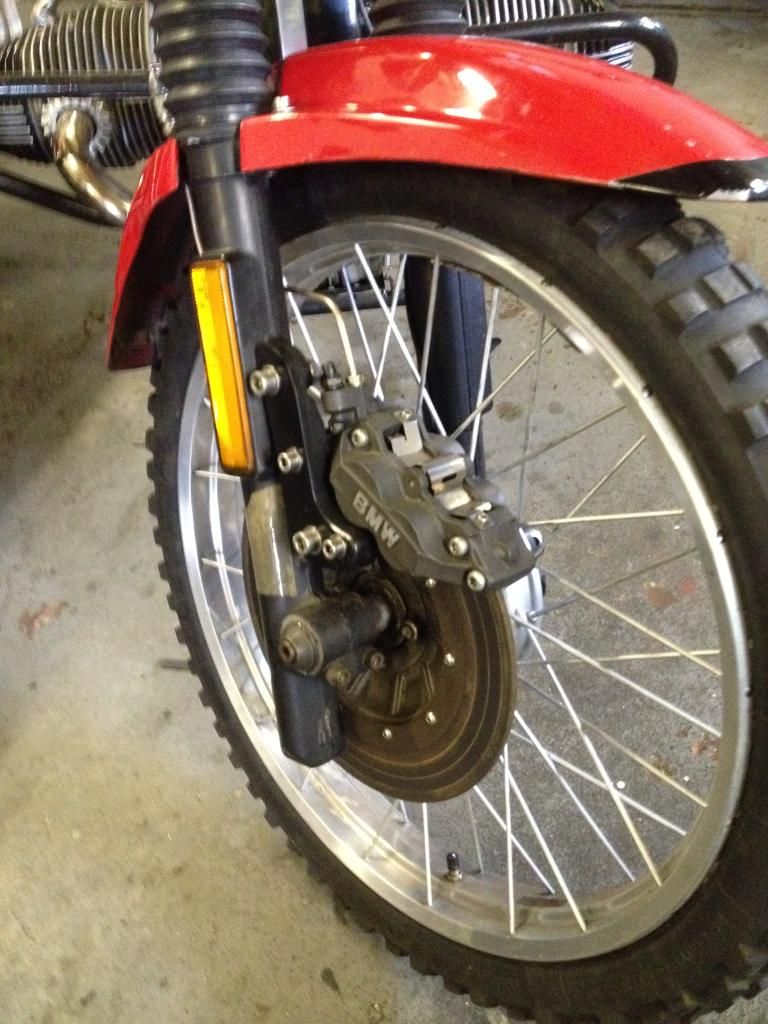 |
|
|
|
Post by m40man on Nov 12, 2014 12:18:47 GMT
Can you describe them for me - can't see pics at work  . |
|
|
|
Post by HRHpenfold on Nov 12, 2014 12:54:03 GMT
Can you describe them for me - can't see pics at work . big red faced girl, with droopy tits!  |
|
|
|
Post by m40man on Nov 12, 2014 18:23:36 GMT
big red faced girl, with droopy tits! Now I'm home, I see you're not wrong . |
|
|
|
Post by HRHpenfold on Nov 13, 2014 16:21:22 GMT
screen fitted! 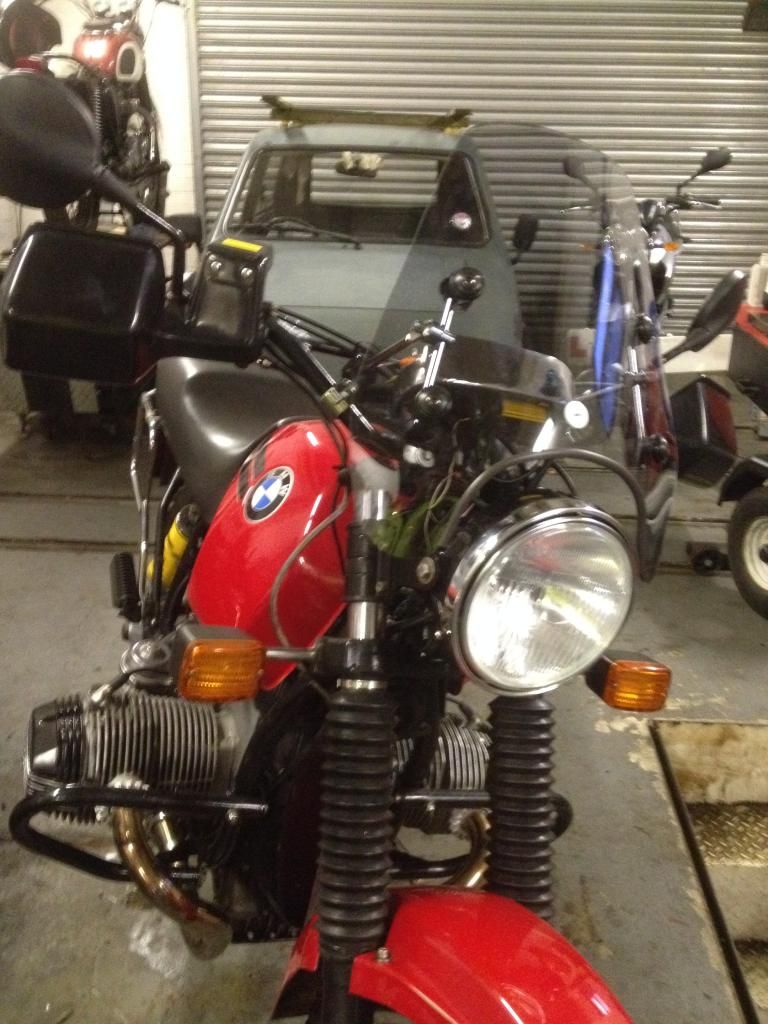 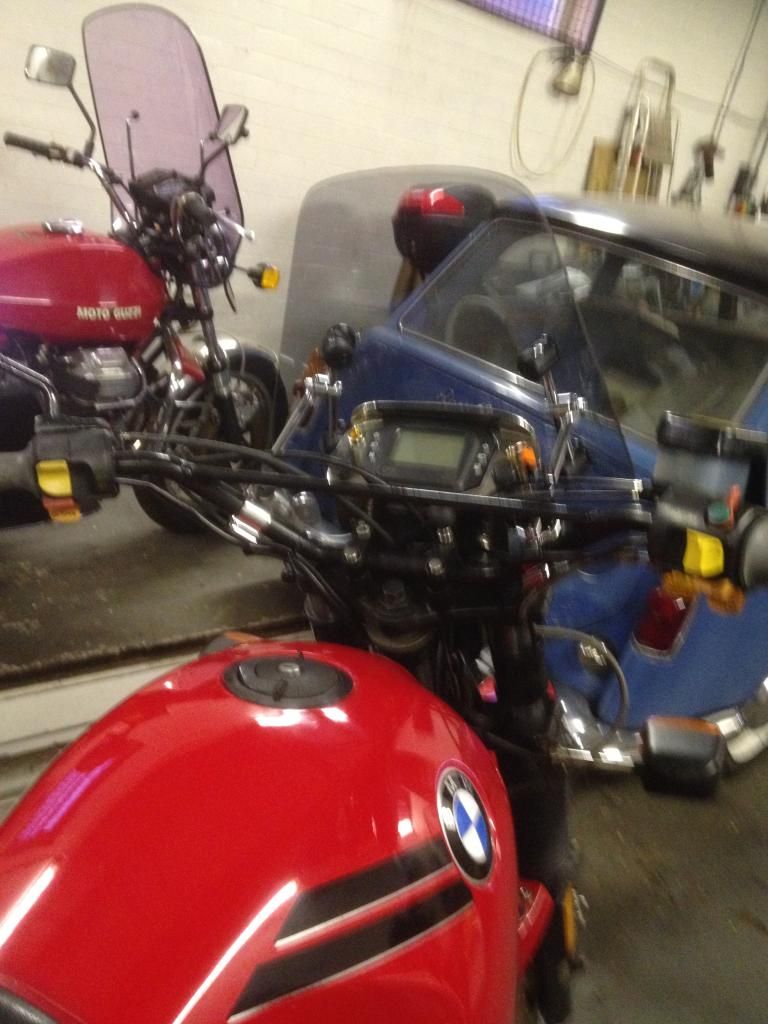 I also fitted a gearbox sight glass! 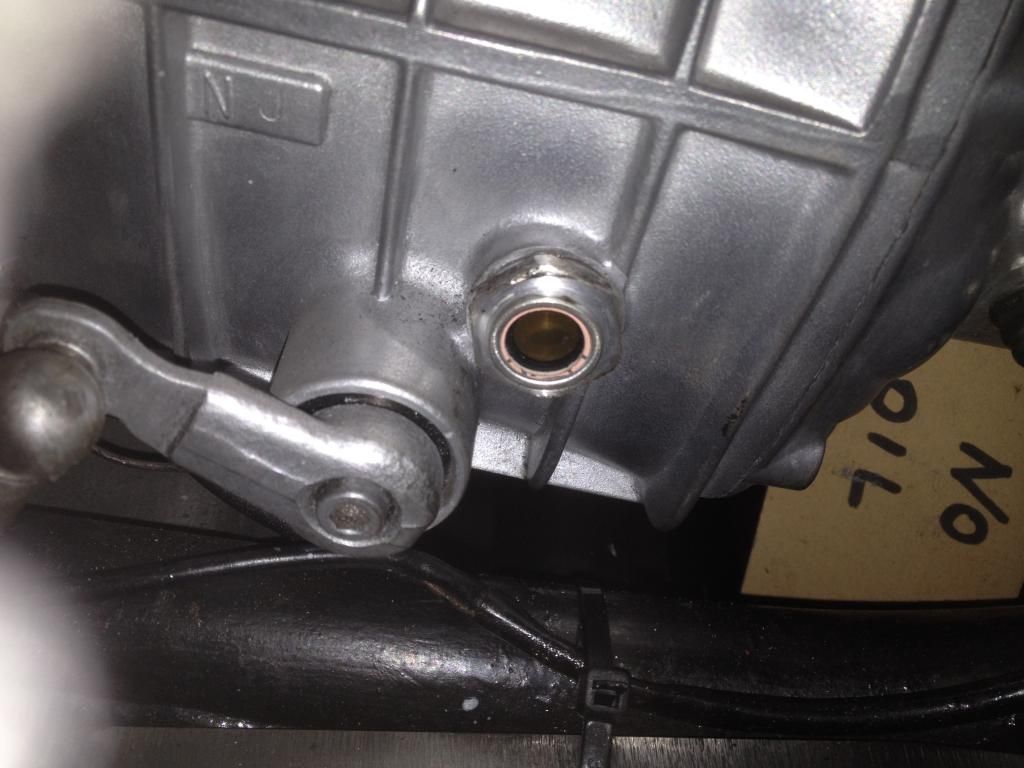 there are some issues and I am not certain on how I will proceed! The push rod seals seem to be split, they are not leaking, but it's clearly not right, the cylinders may need to come back off! 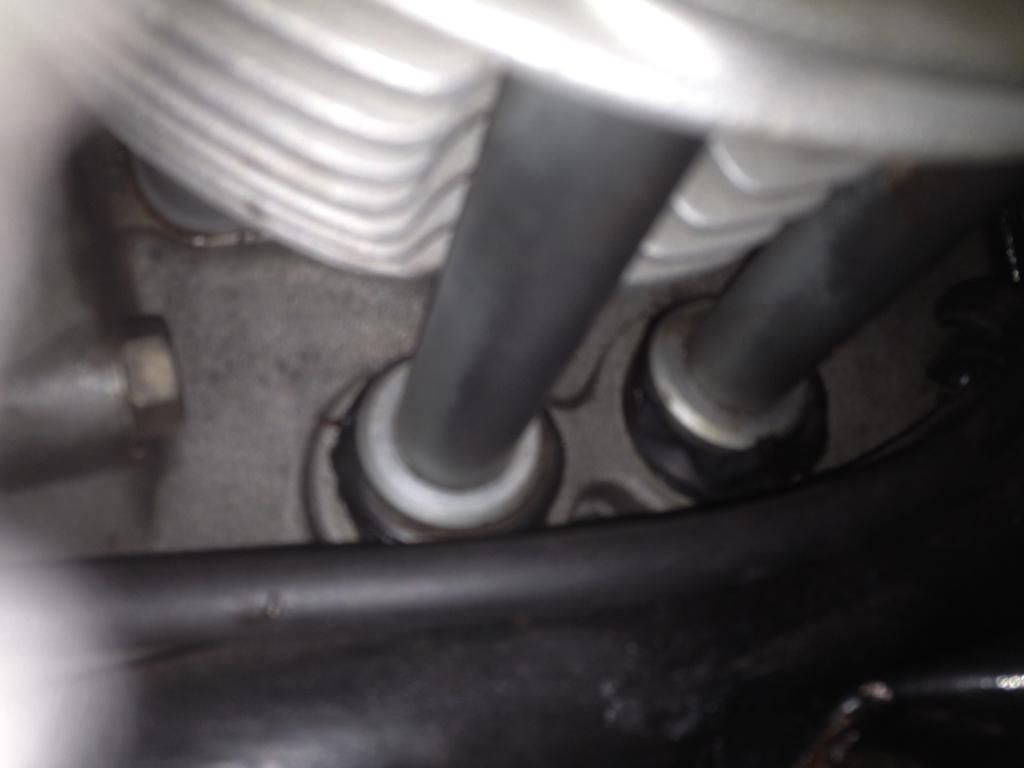 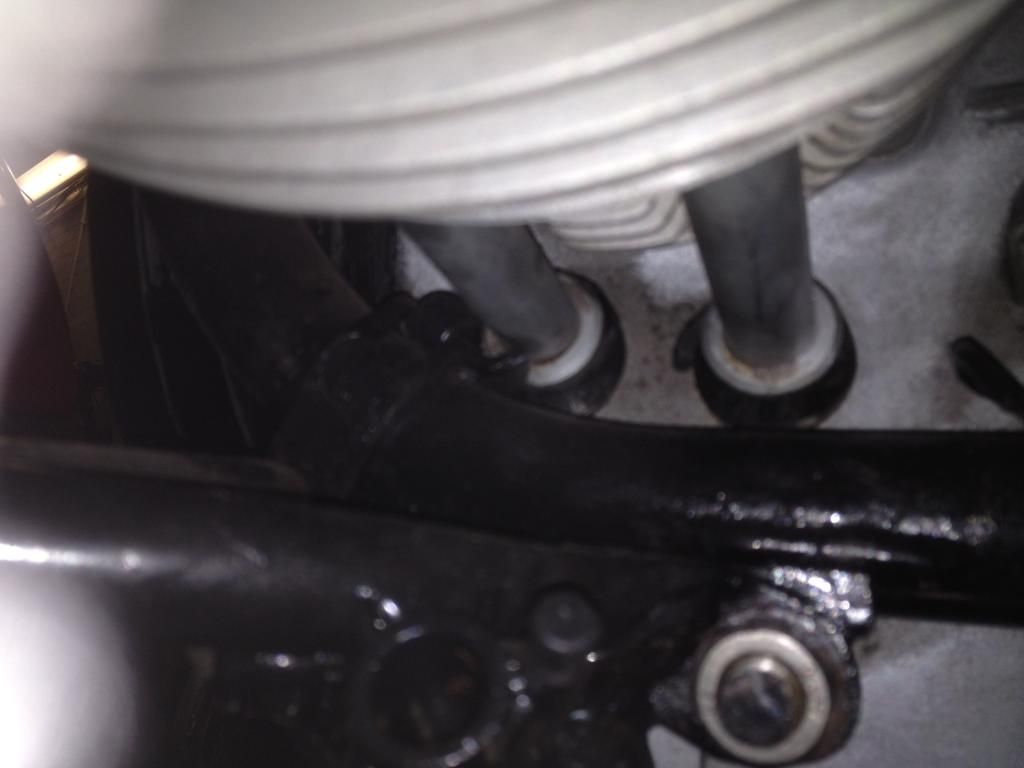 that's both sides, I may have to press the push rods further into the cylinders, in order to have less pressure on the seals once the cylinders are torqued down, that in itself is not what worries me, if you remember back to when I fitted them in the first place the cylinder bolts were a loose fit in the base, and had been Helicoiled slightly off center, it maybe time to fix both issues, which won't be easy and mistakes will be extremely hard to rectify! |
|
|
|
Post by Greendivvy Beeb on Nov 23, 2014 17:53:38 GMT
Cracking work Ian and write up, my dad's R80 has got the same seals cracked and broken on the pushrod tubes but have never leaked since he got the bike. Not that the bike is used much.  May be better to leave them if they're not causing a problem. |
|
|
|
Post by HRHpenfold on Nov 23, 2014 19:53:53 GMT
Cracking work Ian and write up, my dad's R80 has got the same seals cracked and broken on the pushrod tubes but have never leaked since he got the bike. Not that the bike is used much. May be better to leave them if they're not causing a problem. Yes I was considering leaving them untill a later time, doing the seals is only a couple of easy hours, but repairing the studs is a much longer and more risky job, get it wrong and the engine block is scrap, Having ridden the bike, and after the mixture was tweaked, it runs very well, but I am not convinced about the speedo, I may have to re visit that, She needs the timing set via a strobe light, I have one but it won't seem to work with any of my BMW's, But I am calling it done for the time being, Moving onto the Le Mans project, that though I am not planning on starting just yet, I am slowly gathering the missing bits together, I want to have most bits before I even start the project, that way it will not suffer the long delays that the GS suffered, sure I will miss out getting parts, but want that to be the minimum, I decided to put the tank, side panels mk1 fairing that came with the project to one side, as they are painted, but not the colour that I want, and it's not going to be a mk1 Lemans copy, but a cafe racer version of a 70's V7, though Lemans were the original factory cafe racers, A couple of weeks ago I picked up a used tank, something that I had been looking for for several months, I was offered another, but for simply daft money, daft because my plans include fitting a fuel sender to the tank, modifying the filler arrangement and using a nicer fuel cap , and remodelling the rear of the tank, to more suit the V7 seat that I have, So I will be cutting the tank up and re modelling, but it will still have the same shape, fortunately there hasn't been fuel in the tank for many many years! |
|
|
|
Post by HRHpenfold on Nov 25, 2014 15:50:39 GMT
I have started the long process of gathering parts for the Lemans project, because of my OCD, even stainless bolts are not of the required quality when new, so require a bit of lathe work! 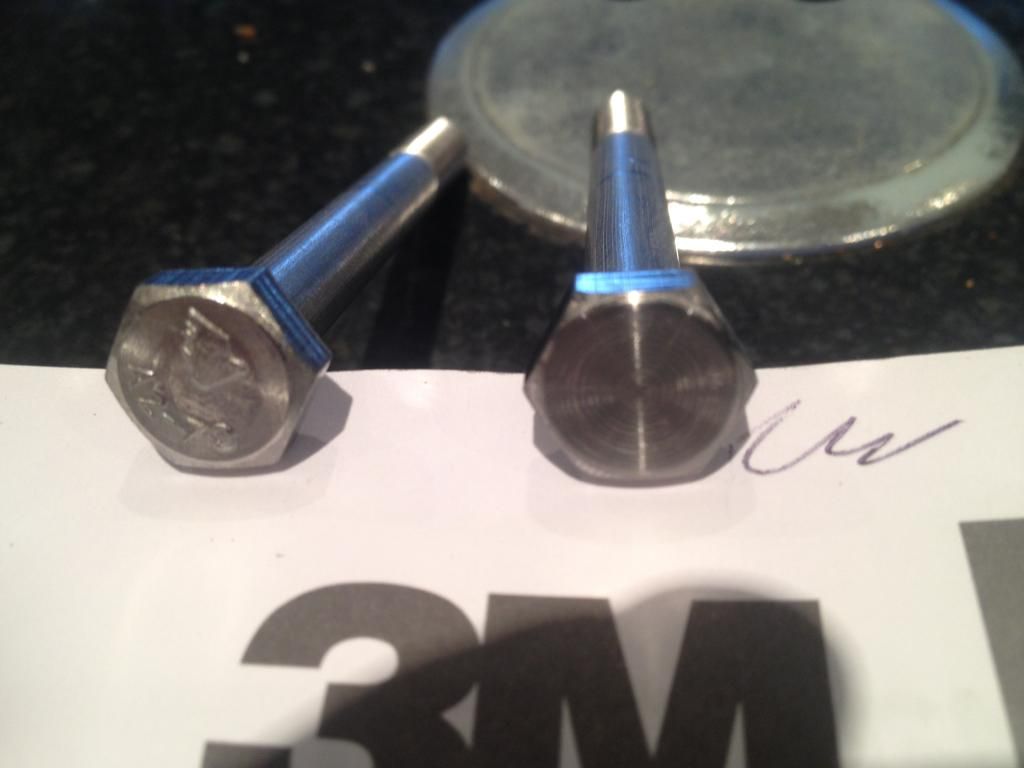 the bolts were polished afterwards! |
|
|
|
Post by HRHpenfold on Nov 25, 2014 16:05:40 GMT
last night I removed the wheel bearings, and today I removed the large bearing that supports the drive shaft within the swing arm so once I knew what to order, I ordered all the bearings and seals, on this swing arm the circlip that holds the bearing from moving forward is missing, so that will need replaced, I will also need to order a boot and clips that go between the swing arm and gearbox, the driveshaft support bearing is the big one at the bottom,middle two bearings are the rear wheel bearings, and the top two are front wheel bearings, 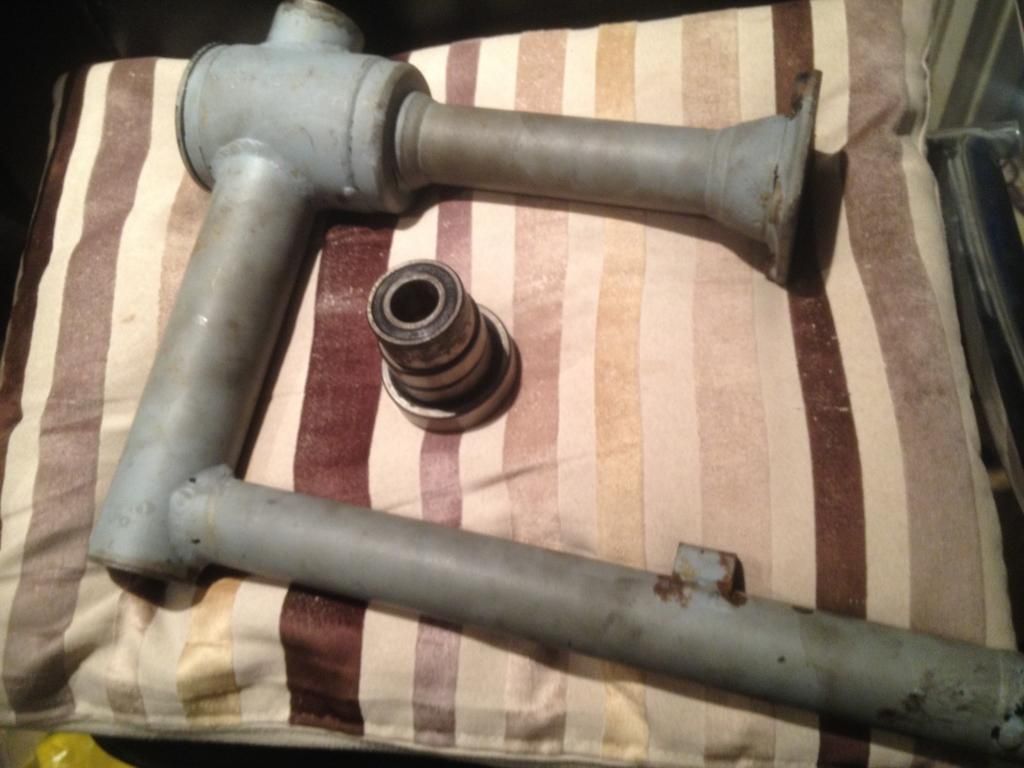 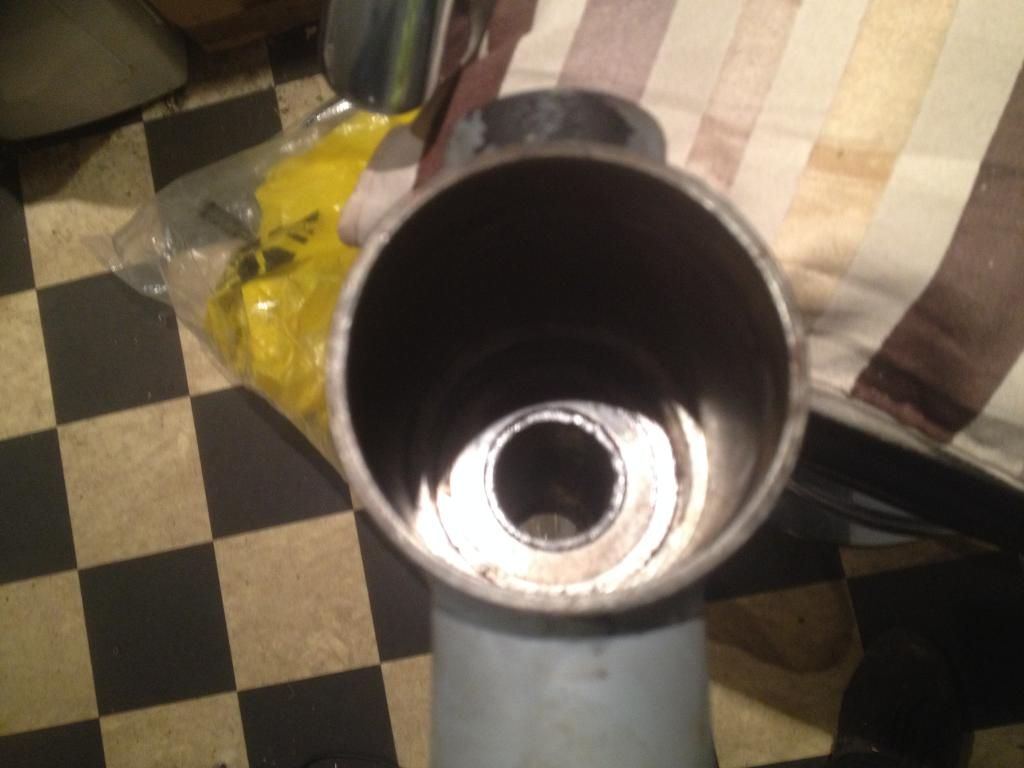 the bearings were replaced with quality bearings, but with a metal shield rather than the rubber shield of the originals |
|
|
|
Post by HRHpenfold on Nov 25, 2014 16:10:43 GMT
|
|
|
|
Post by HRHpenfold on Nov 25, 2014 16:15:32 GMT
Although the old Tonti framed Guzzi's used tubed tyres, my plan includes converting them to tubeless, so tubless 8mm valves were bought, actually 2 sets, the first set were 90 degree valves, but the thread portion seems a little short, so I bought these! 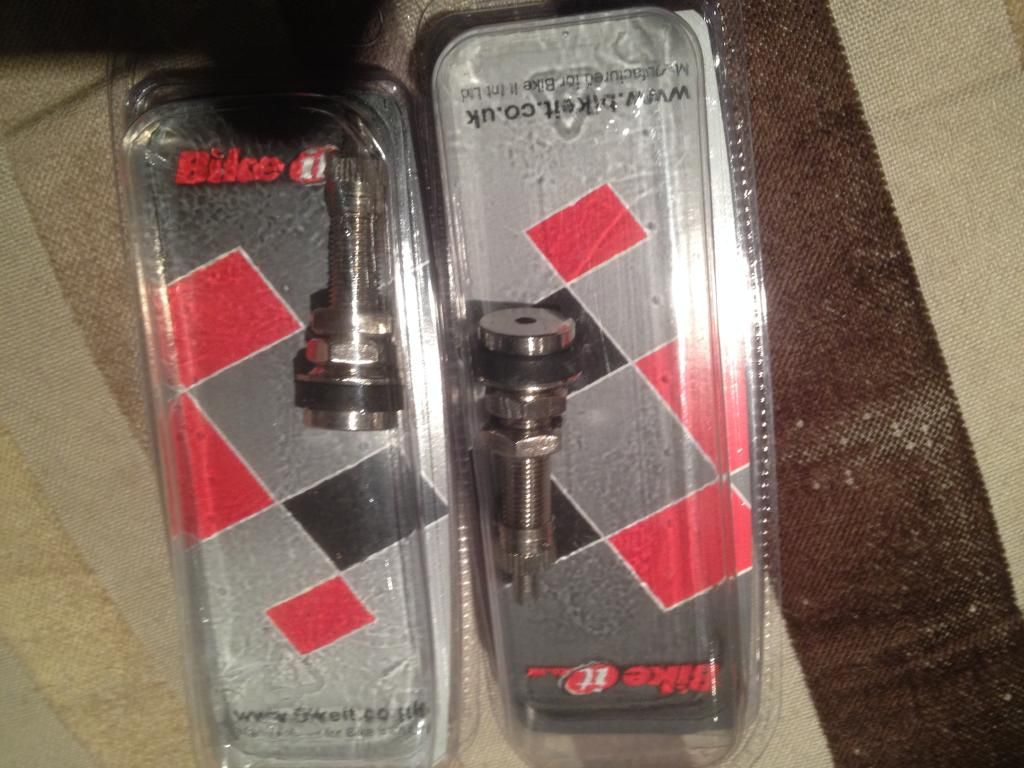 |
|
|
|
Post by HRHpenfold on Jan 12, 2015 23:47:57 GMT
Although the old Tonti framed Guzzi's used tubed tyres, my plan includes converting them to tubeless, so tubless 8mm valves were bought, actually 2 sets, the first set were 90 degree valves, but the thread portion seems a little short, so I bought these! As usual as soon as I commit to using the lemans alloy wheels, a set of Expensive Borrani alloy rimed spoke wheels turn up and change everything, Did I mention that they are expensive, well they are but they are a bargain compared to the ones that I have seen for sale, And they will need the best part of £500 in discs and machined spacers and axel bolts, Plus I will need inner tubes, Unfortunately some of the items have a six week lead time, The way I am going I am going to need another bike just to use the parts that I have not used, Pictures will be when I get time, as soon as the parts arrive I move them to my garage, not so to work on, but to keep all the stuff together! |
|
|
|
Post by bev on Jan 13, 2015 8:33:17 GMT
This is undoubtedly the best thread on this forum. I'd have started a new thread for the le Mans though, just in case you return to working on the BMW or some other project. You don't want us senile old gits to get confused 'That Penfold bloke's a genius, took a BMW and turned it into a Guzzi.'  |
|
|
|
Post by HRHpenfold on Jan 13, 2015 8:36:16 GMT
|
|
|
|
Post by HRHpenfold on Jan 13, 2015 9:03:39 GMT
|
|


 .
.